Zendesk Integration Quickstart
This guide explains how to get started with Conclude’s Zendesk integration and the process for using Zendesk ticketing for Slack and Microsoft Teams.
Start here
In this guide we will cover:
- Activating the Zendesk integration
- Adding Zendesk to Conclude
- Installing and configuring the app
- Slack ticketing with Zendesk
- Microsoft Teams ticketing with Zendesk
Step 1: Activate the Zendesk integration
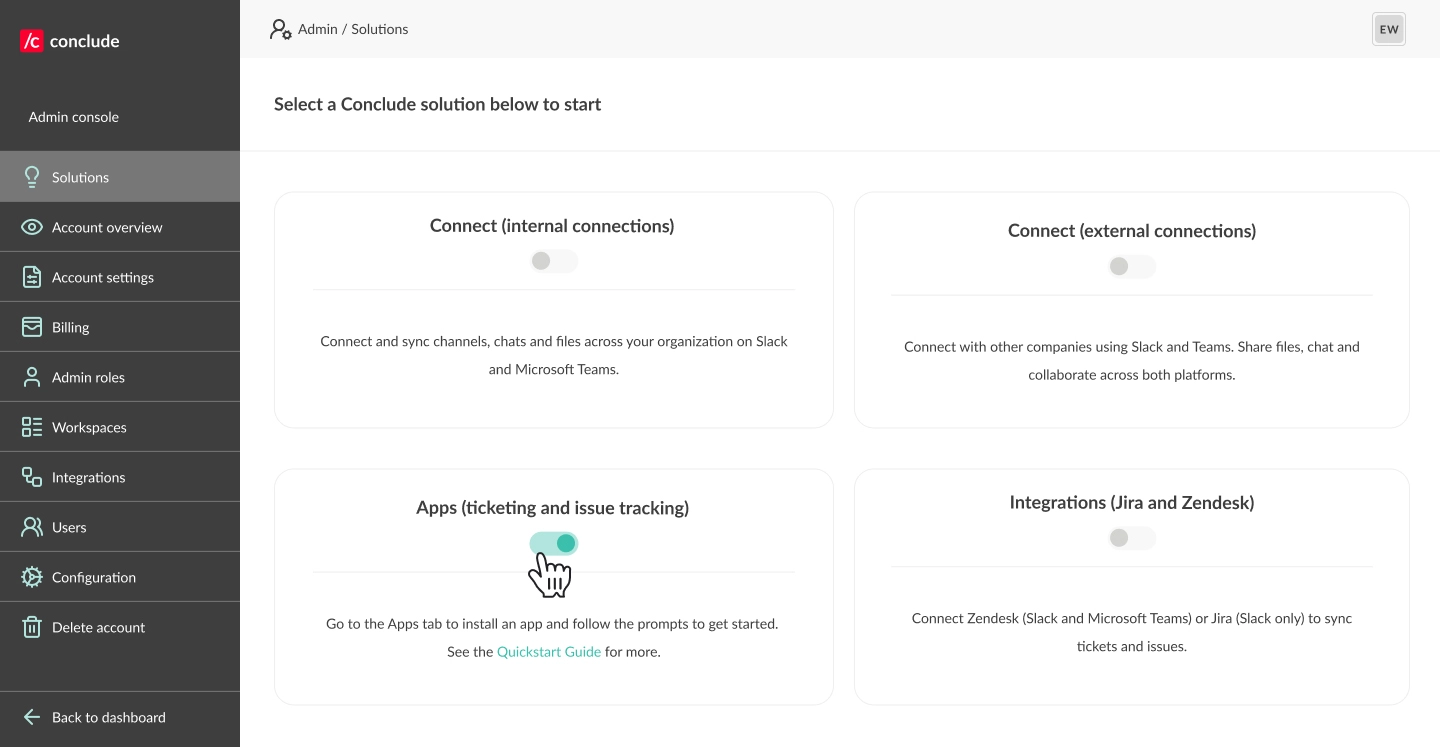
From the Admin console, navigate to the Solutions tab and toggle the Zendesk integration switch on.
Important: if you haven’t enabled Conclude Apps for customer support and ticketing or internal issue management, do this here. For additional details about apps, see our Quickstart Guide for Customer Support or the Apps Web UI Quickstart.
Step 2: Add your Zendesk account to Conclude
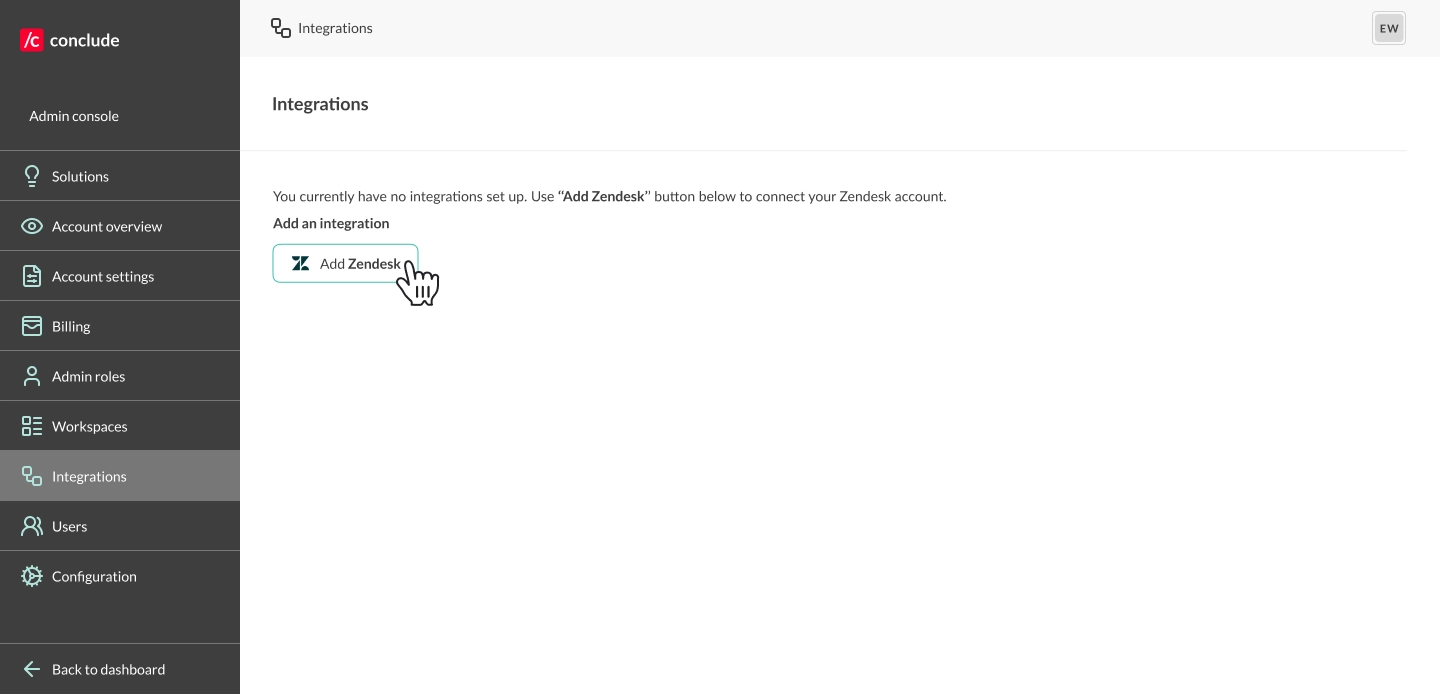
Next, from within the Admin console navigate to Integrations and click Add Zendesk.
Enter your Zendesk subdomain (the part before .zendesk.com) and click Add integration.
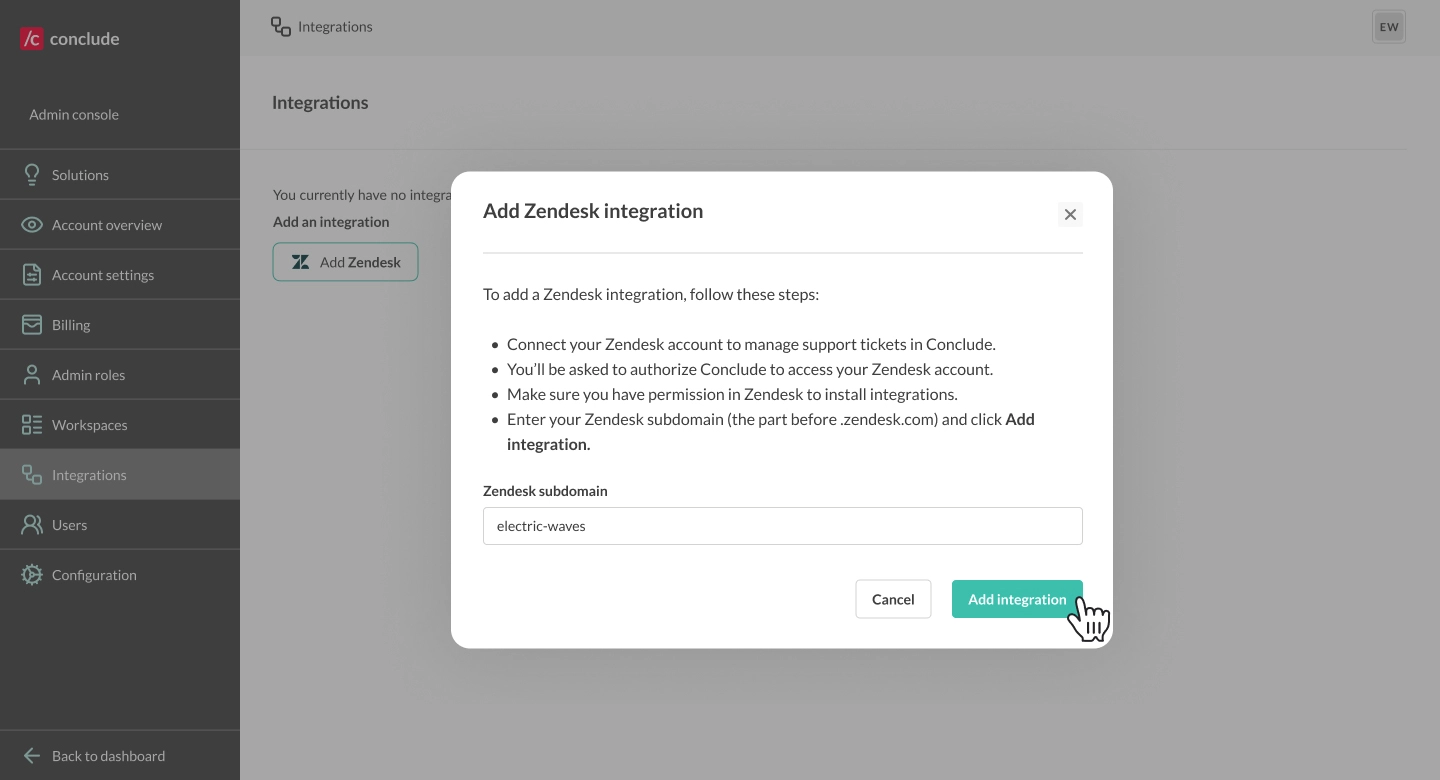
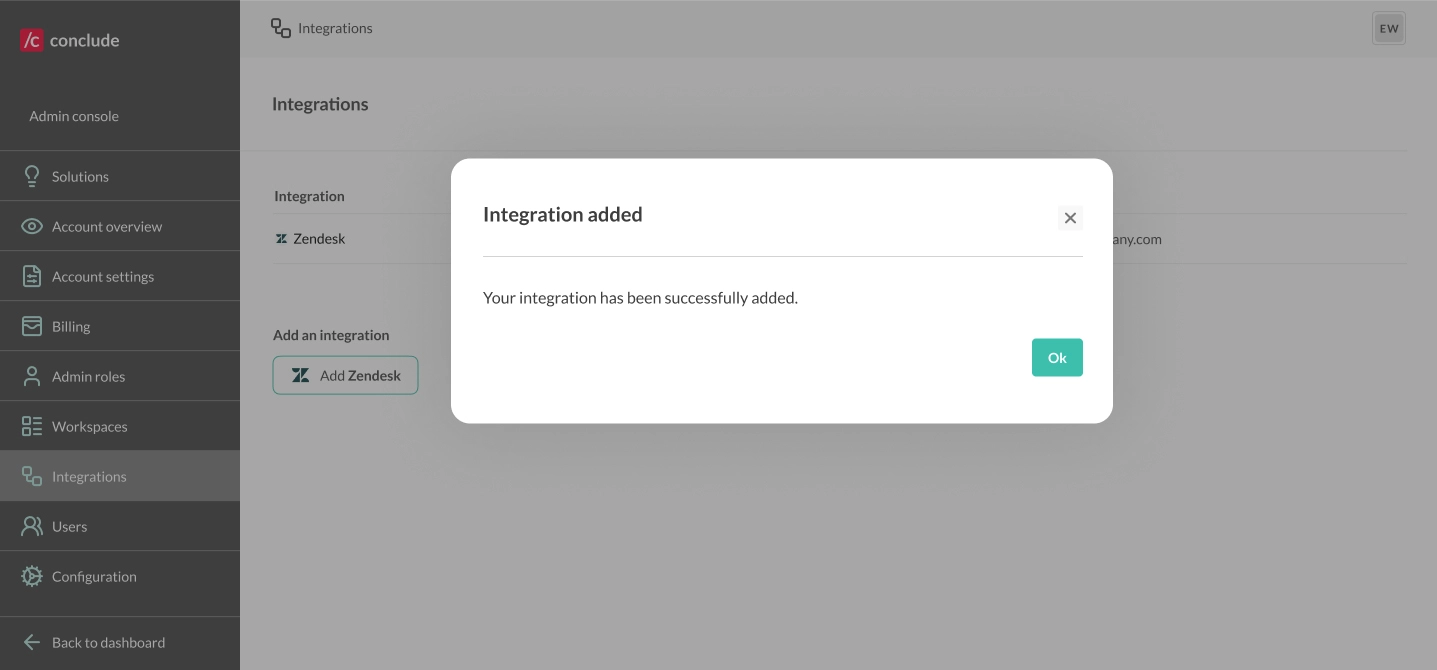
When prompted, click Allow to grant permissions. If the integration is successful, you’ll see a confirmation screen.
Tip: if you see an error message check you do not have a Zendesk account already added to Conclude. Additionally, ensure that you only use the text of the subdomain before .zendesk.com.
Step 3: Install the Zendesk integration app
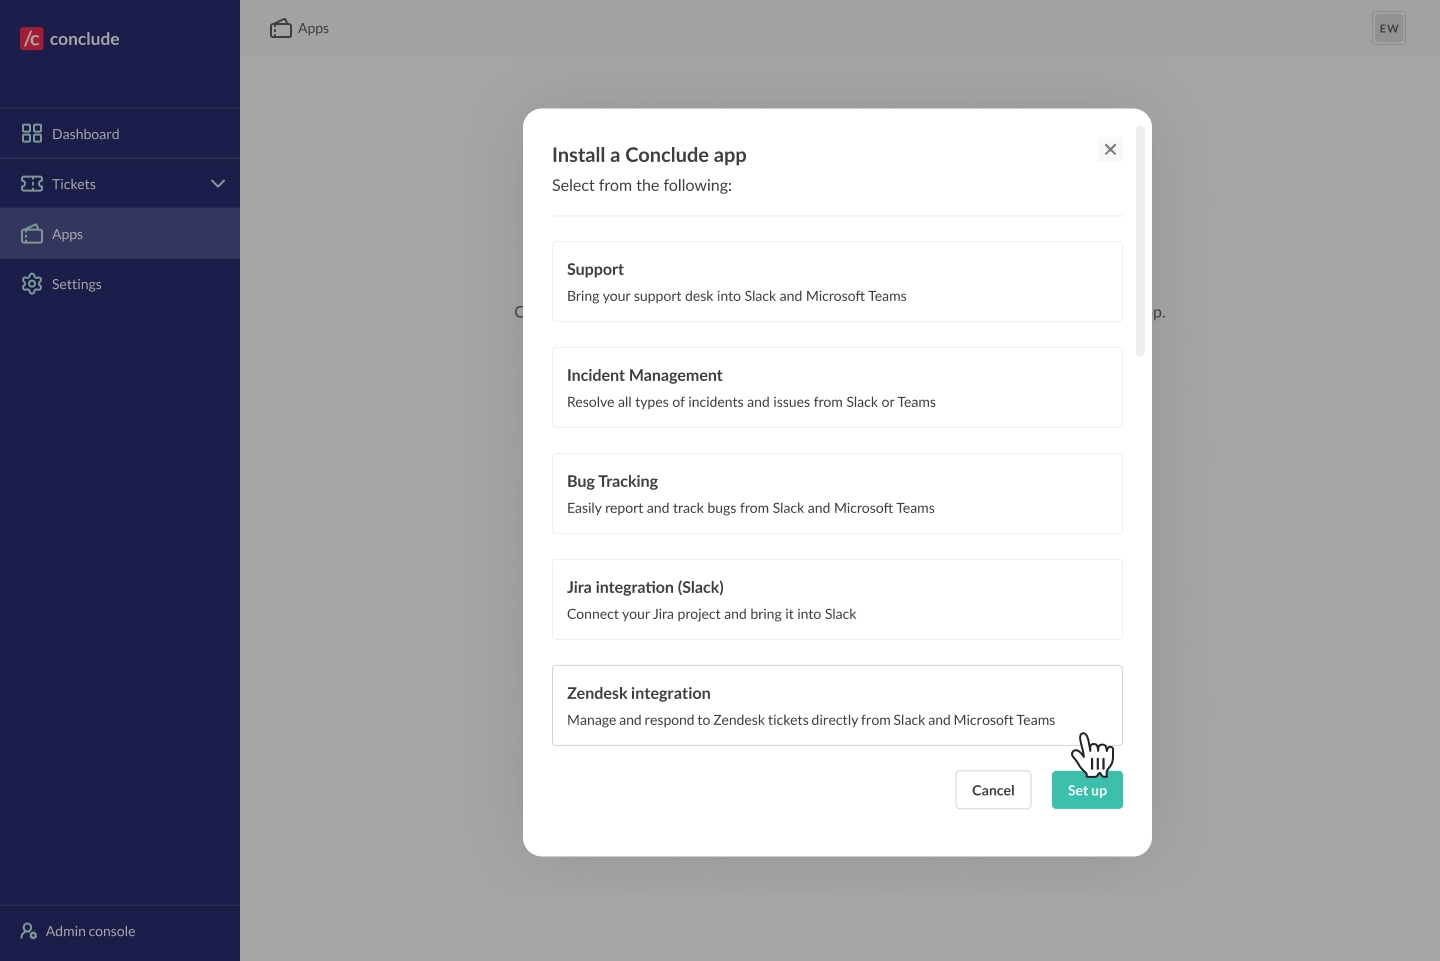
In the dashboard, navigate to Apps in the sidebar and click Install app in the upper right corner. Select the Zendesk integration template from the list and click Setup.
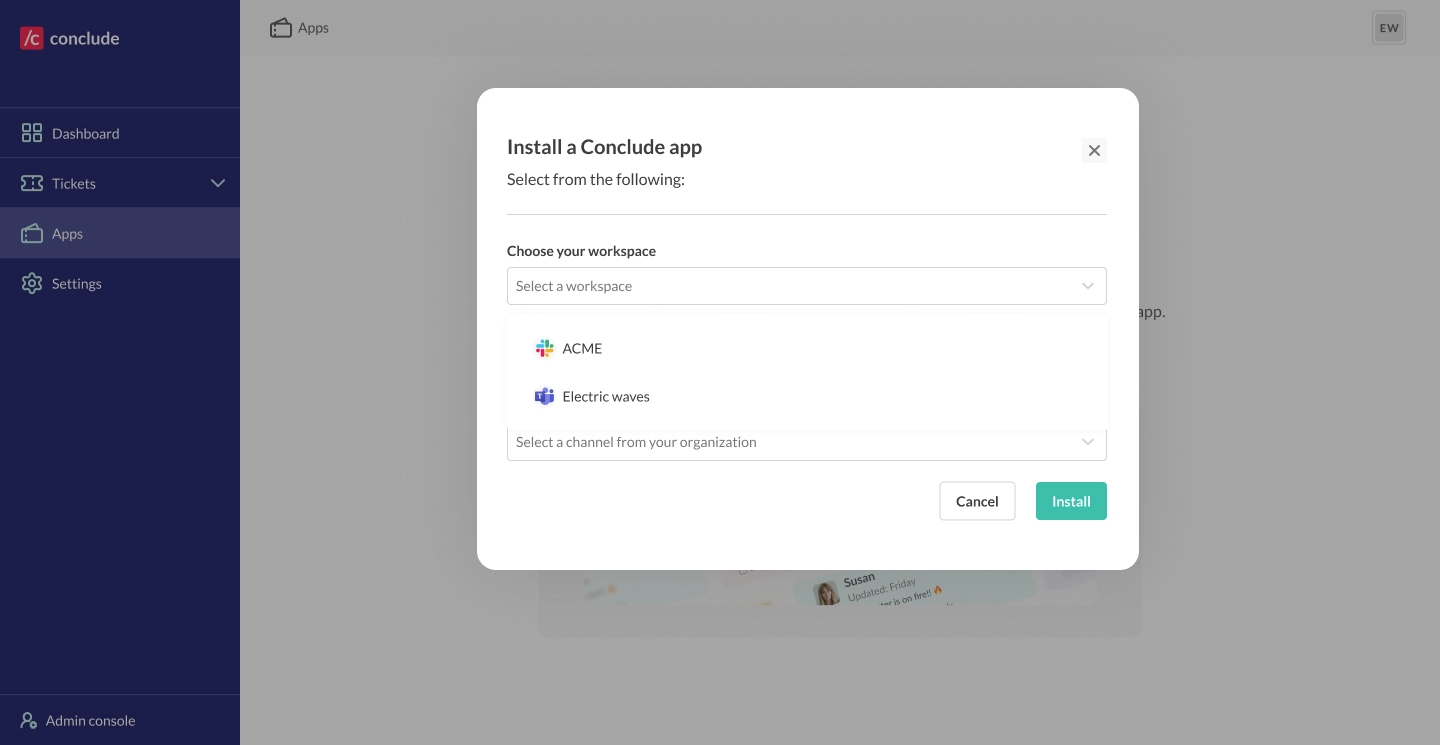
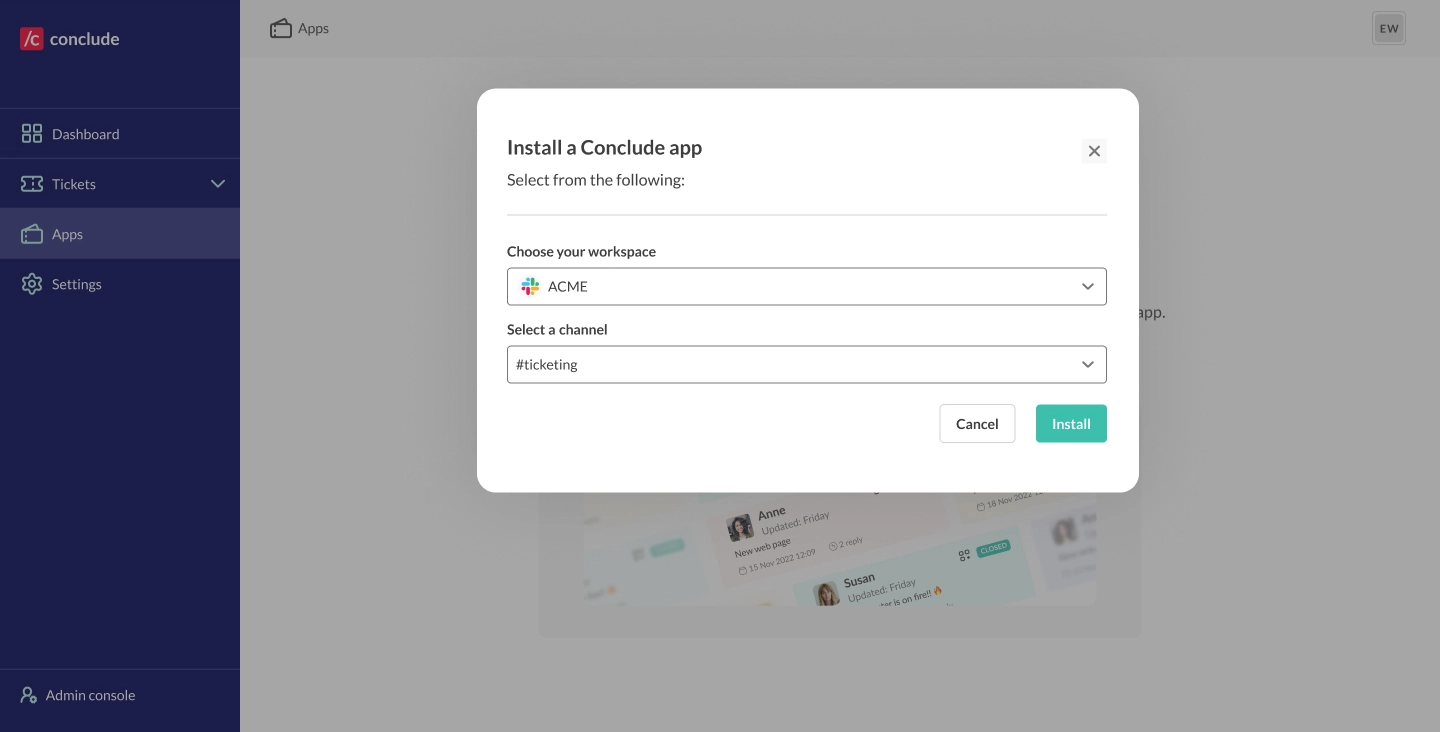
Choose your workspace – either Slack or Microsoft Teams. If using Teams then select the team, otherwise select or create the channel where you want this app template to be installed.
Step 4: Configure the app
- After installation, go to Apps, select the app you want to integrate with Zendesk and click the edit icon (pencil)
- Navigate to Zendesk settings, check Integrate with Zendesk, then Save changes
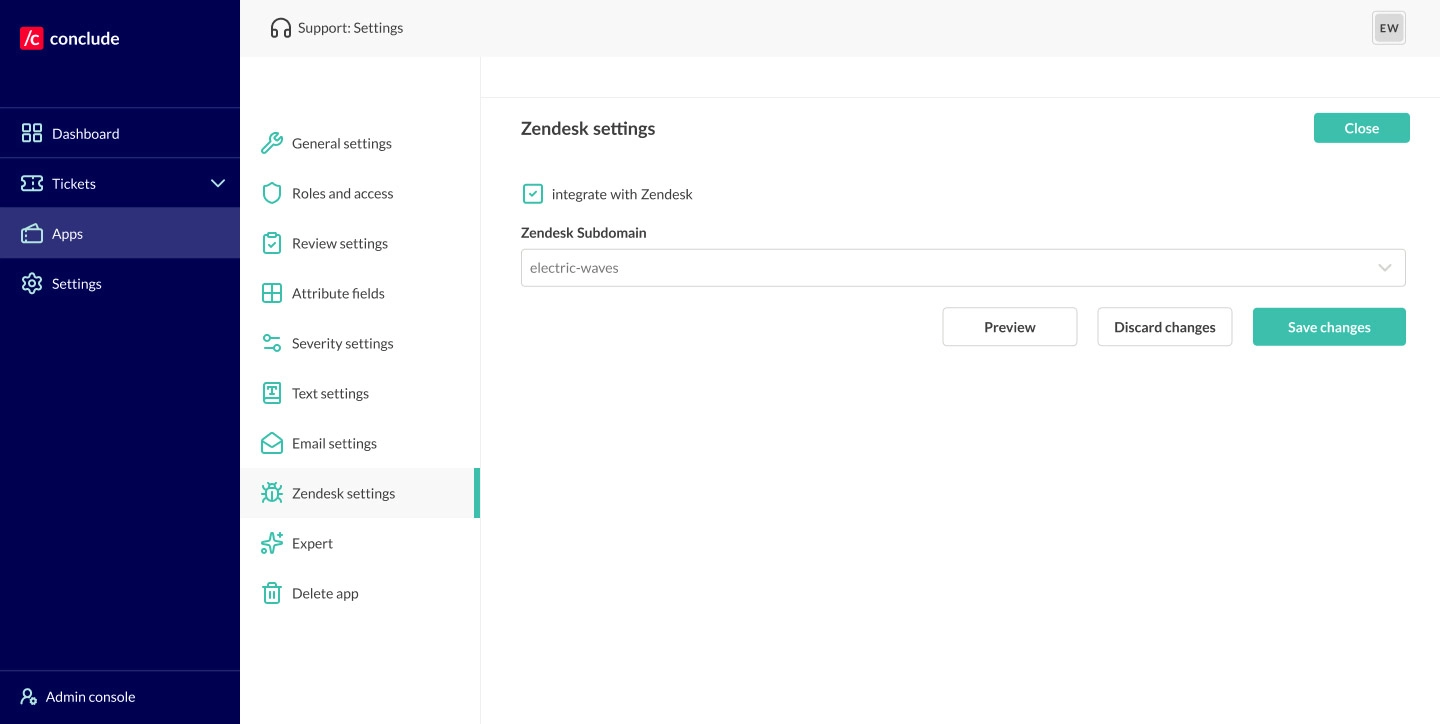
Note: The channel where the app is configured will now sync with Zendesk so when a ticket is created in Slack or Teams it will be automatically mirrored in Zendesk and vice versa.
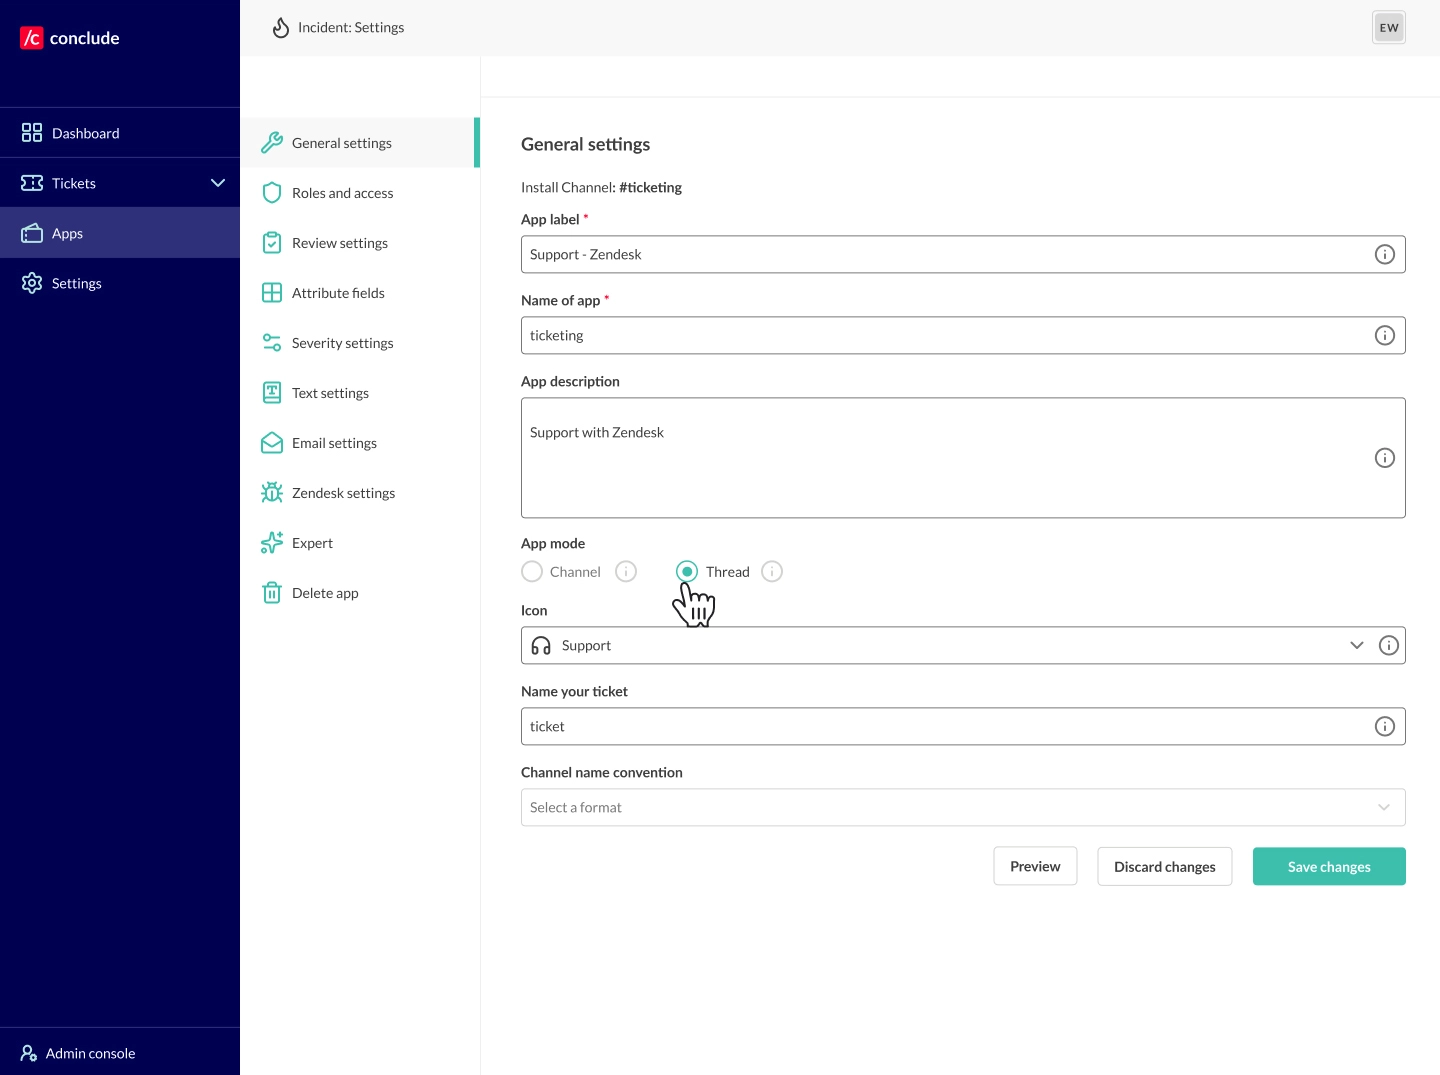
Configuring the app for Slack
To configure the app for conversational ticketing on Slack, navigate to General settings and set the App mode to Thread if you want each ticket to have its own thread. This is recommended if you are managing multiple tickets and channels.
Slack and Zendesk ticketing
For more about Zendesk ticketing for Microsoft Teams, scroll down.
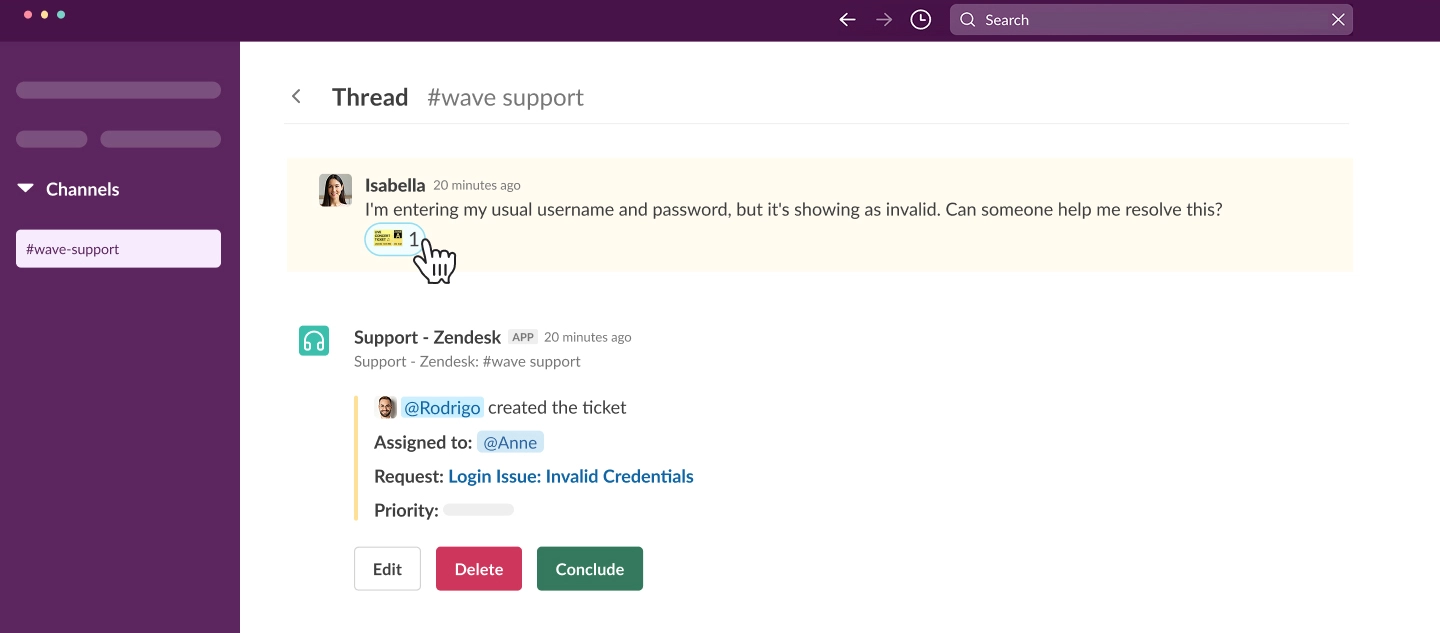
Navigate to the channel in Slack where the app is installed. If you have activated Thread mode under General settings (see step 4), you can open tickets by placing a ticket emoji 🎫 on any conversation inside this channel.
This will open a new ticket (as a thread) which is automatically mirrored in Zendesk.
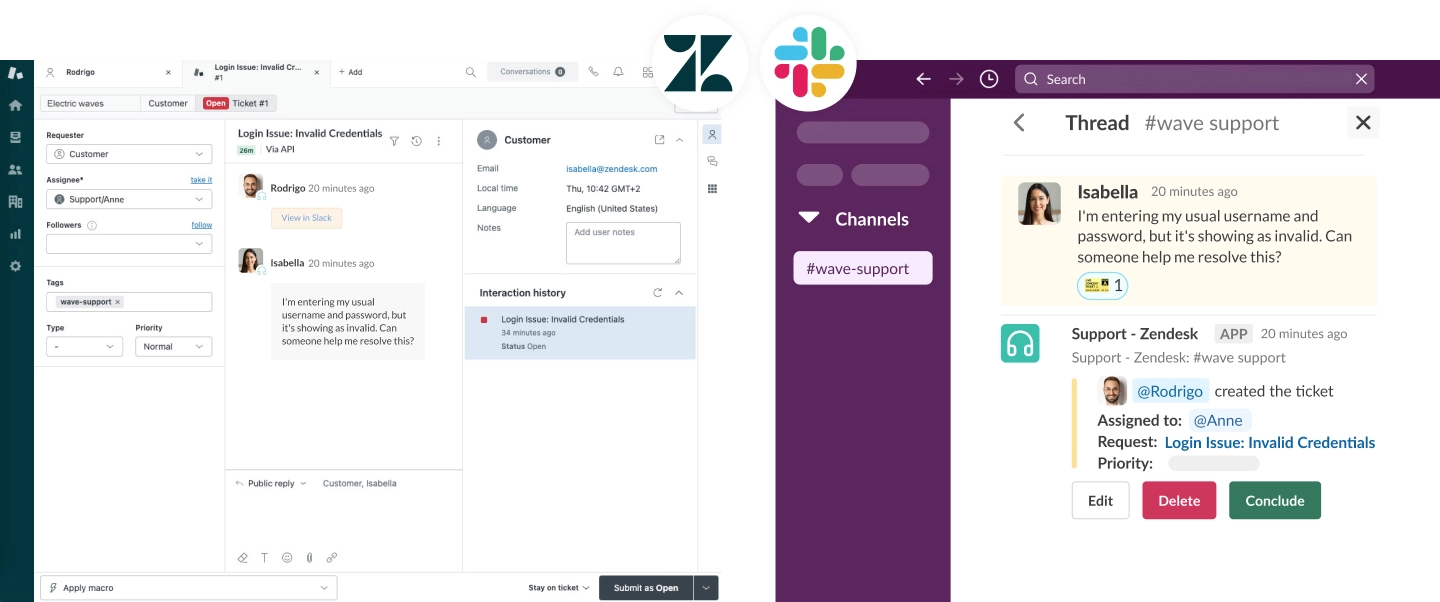
Navigating to the Zendesk UI will show that the ticket has been mirrored to your Zendesk account. You can choose to respond to tickets from Slack or Zendesk – both will be synced bidirectionally.
See an example of how tickets appear in each platform below.
Microsoft Teams and Zendesk ticketing
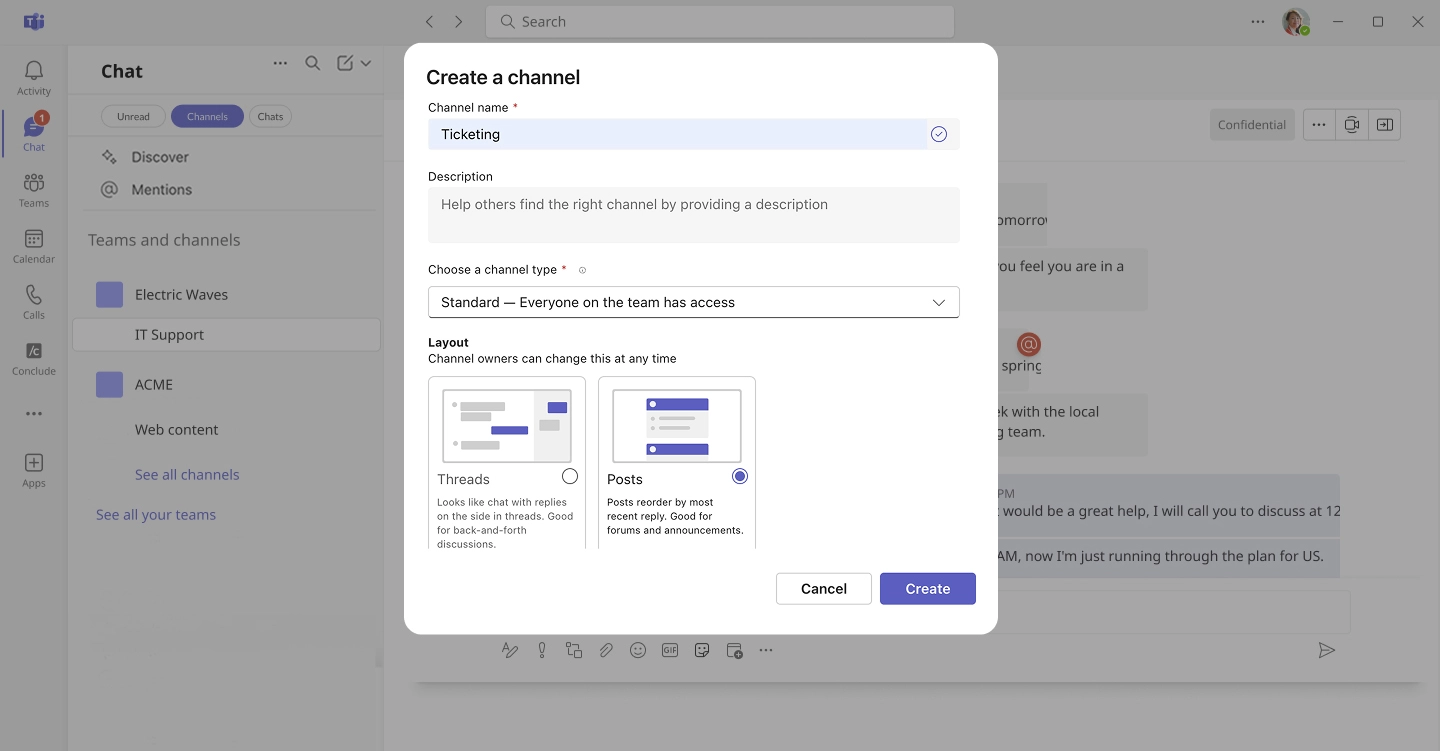
In Teams, select or create a new channel for your Zendesk integration (this is where you will open tickets). Next, set the channel to Posts layout.
Important: using Thread layout will put all new tickets into a single thread, so use Posts.