Connect – Partner Invitee Guide
If another company has invited you to collaborate through shared channels or chats, you’re in the right place. This page relates to Step 5 of the Connect – Cross-Company Quickstart. For more information about what happens when you accept a connection, read this guide.
Step 1: Connecting with Conclude
This step explains what you, as the invited external company, need to do to get started with Conclude.
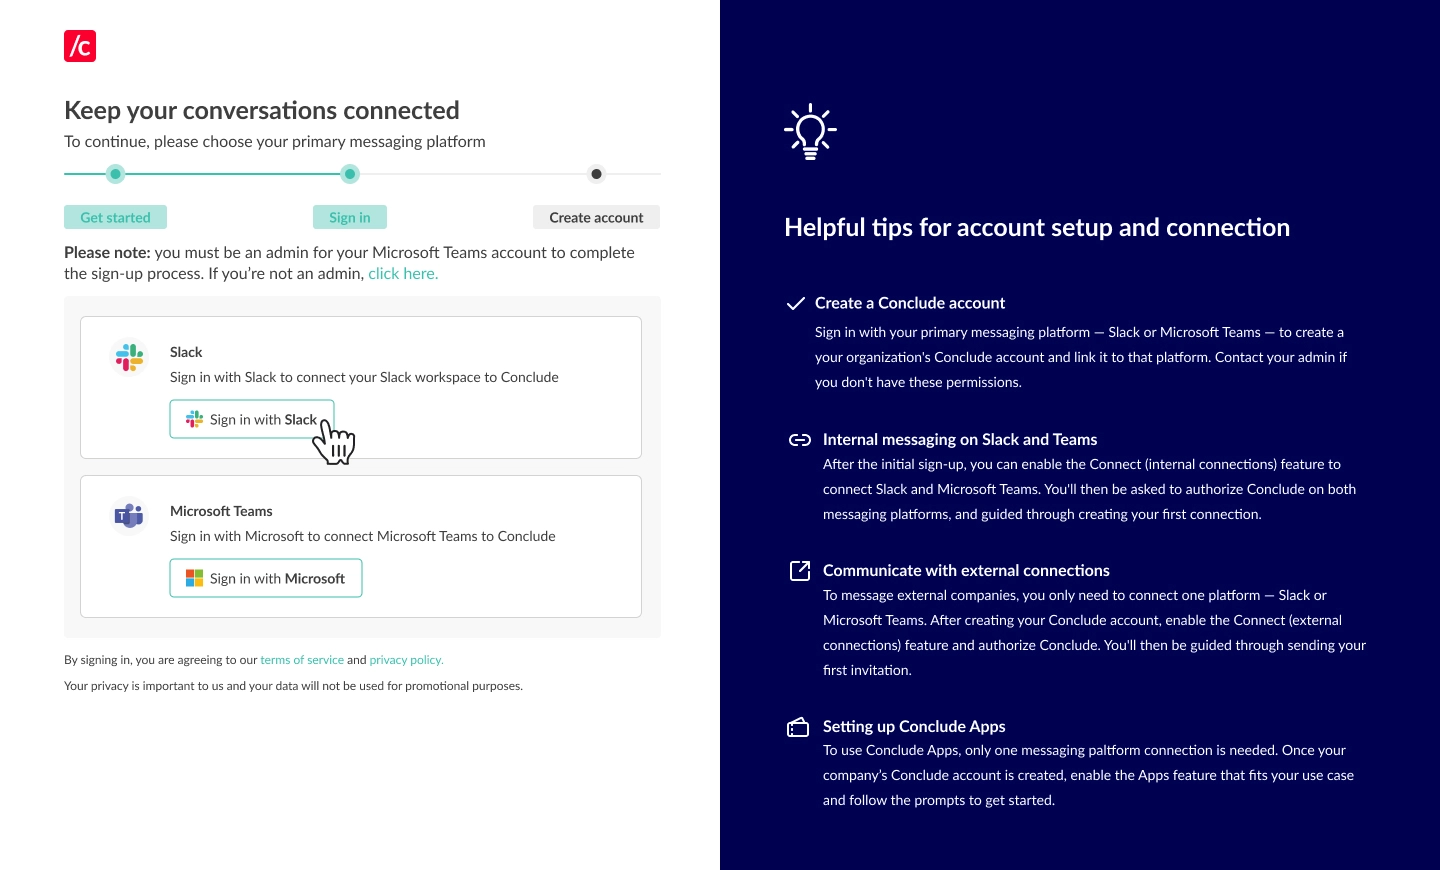
- Click the invitation link in the email to begin setup. If you do not have an email, check your spam folder or reach out to your contact. The link is valid for 96 hours
- Select your messaging platform – Slack or Microsoft Teams
- Authenticate your platform by clicking Add to Slack or Add to Microsoft and then follow the prompts
Step 2: Choose a connection type
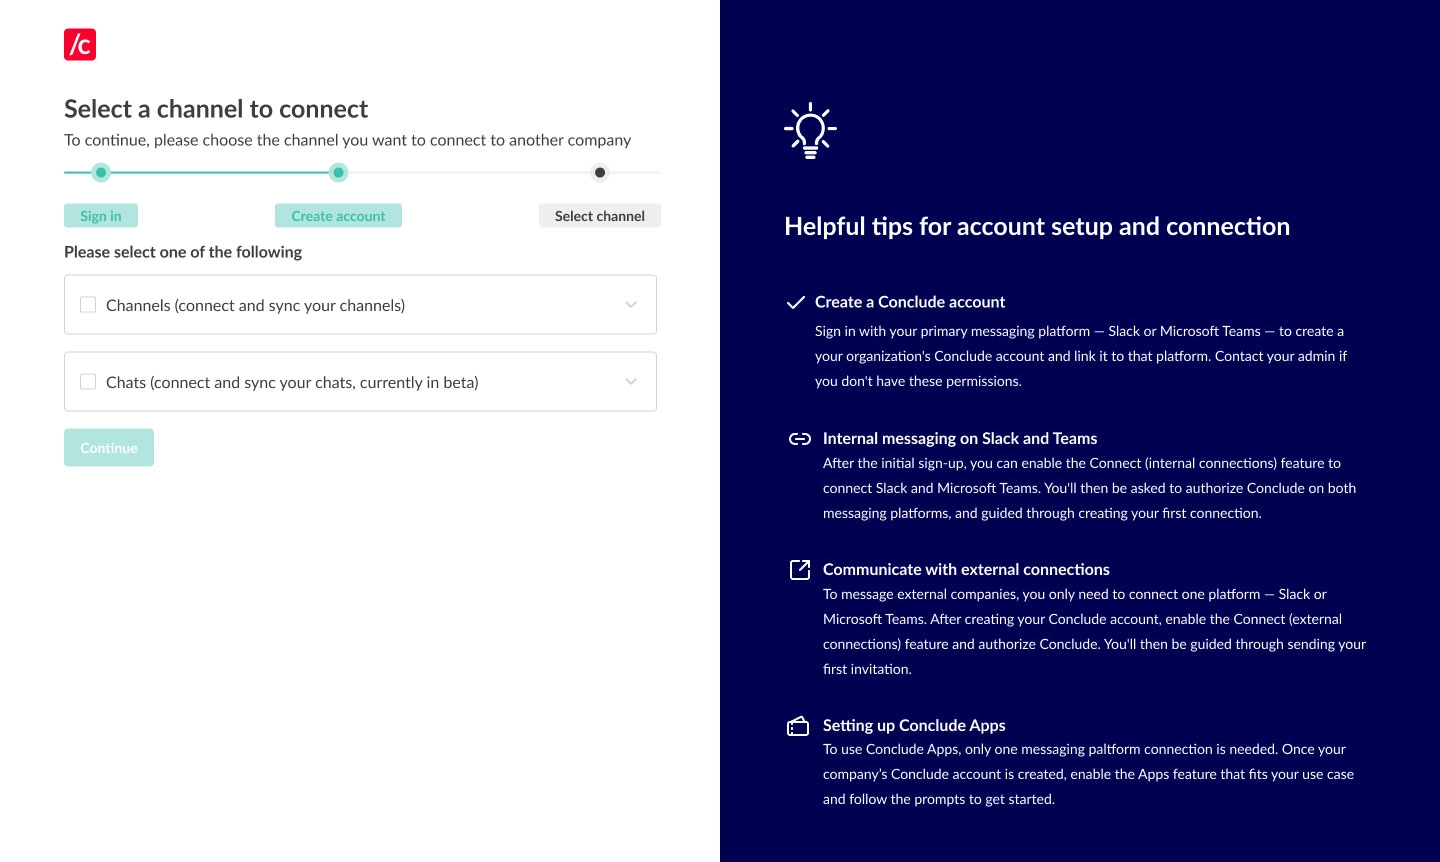
- Slack authentication: you’ll be asked which channels you would like to connect – select Channels and click Continue
- Teams authentication: you will see two options – to connect Channels or Chats. You can do either, but can only select one connection type at a time
- Make your selection and click Continue
Step 3: Connecting channels and chats
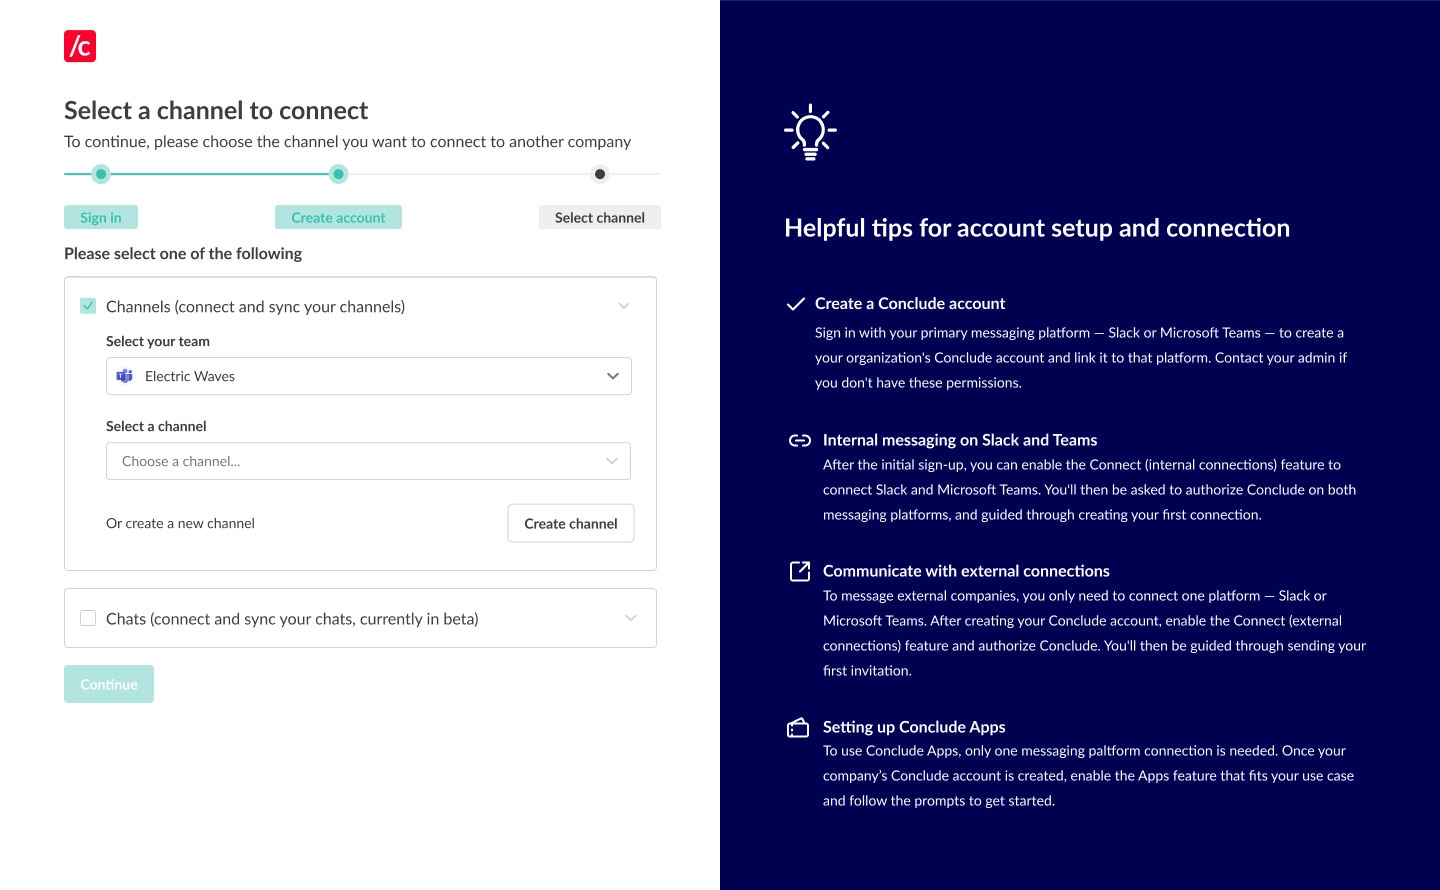
If you selected Channels, you now have the option to select your team and the channel that you want to connect
You can also select Create channel to set up a new channel
Click Continue, and the channels will now be connected, enabling real-time synchronization:
- Messages sent in one platform will appear in the other
- Files shared in the conversation will be accessible on both sides
Step 4: Navigating the web dashboard
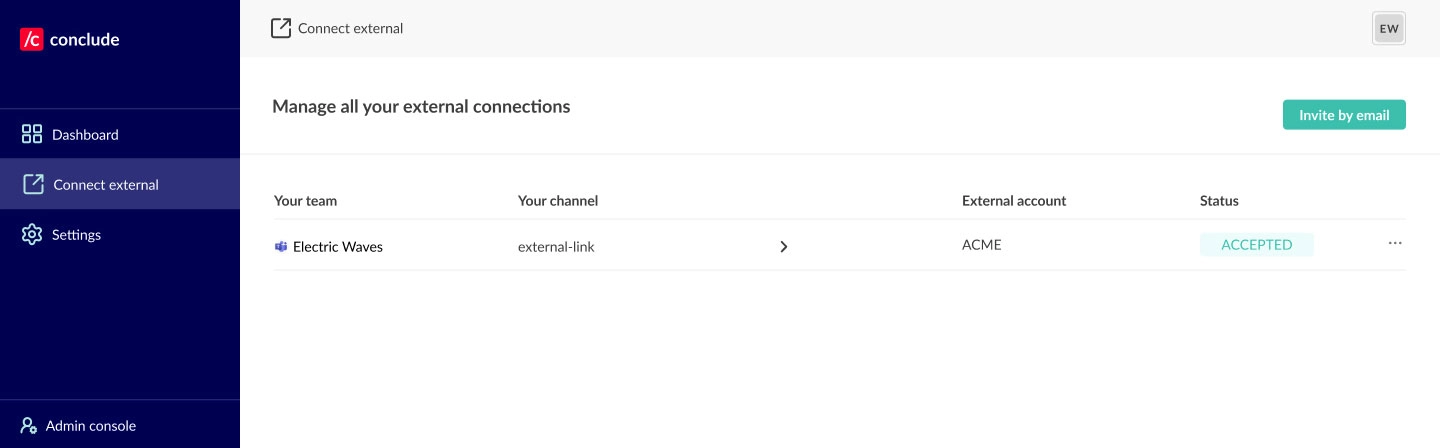
- Once you are set up, you can navigate to the web dashboard (button in the top right of the Conclude website)
- Under Channels you will see an overview of which channels and chats are connected with the company that has invited you to be a collaborator
- To set up new connections and invite collaborators, go to Connect external, then the Channels tab, to send email invitation links
Important: users from your company are not counted as active users and do not require a licence. However, if you decide to set up new connections, your users will be counted as active users (as you will be the inviting company).
Step 5: Setting up an integration user account
An integration user account enables Conclude to post messages on Microsoft Teams. This account serves as a fallback to post messages into channels and chats when no user account is available and ensures consistent message synchronization.
If you are using Microsoft Teams, this step is essential to ensure no messages are missed.
Important: the company that has invited you cannot complete this step. Follow the steps below or watch this guided video tutorial.
Here’s how it works:
- A Microsoft admin creates a special, generic user account (e.g. “Customer” or “External user”) that isn’t associated with any physical person in the Microsoft admin system
- In Conclude’s Admin console, the admin selects the user account and signs them in
- Once configured, Conclude will use the account to post messages that would be handled by the Conclude Bot
- This ensures that messages sync smoothly when user credentials aren’t available
To set up an integration account:
- Navigate to the web dashboard under Admin console > Workspaces
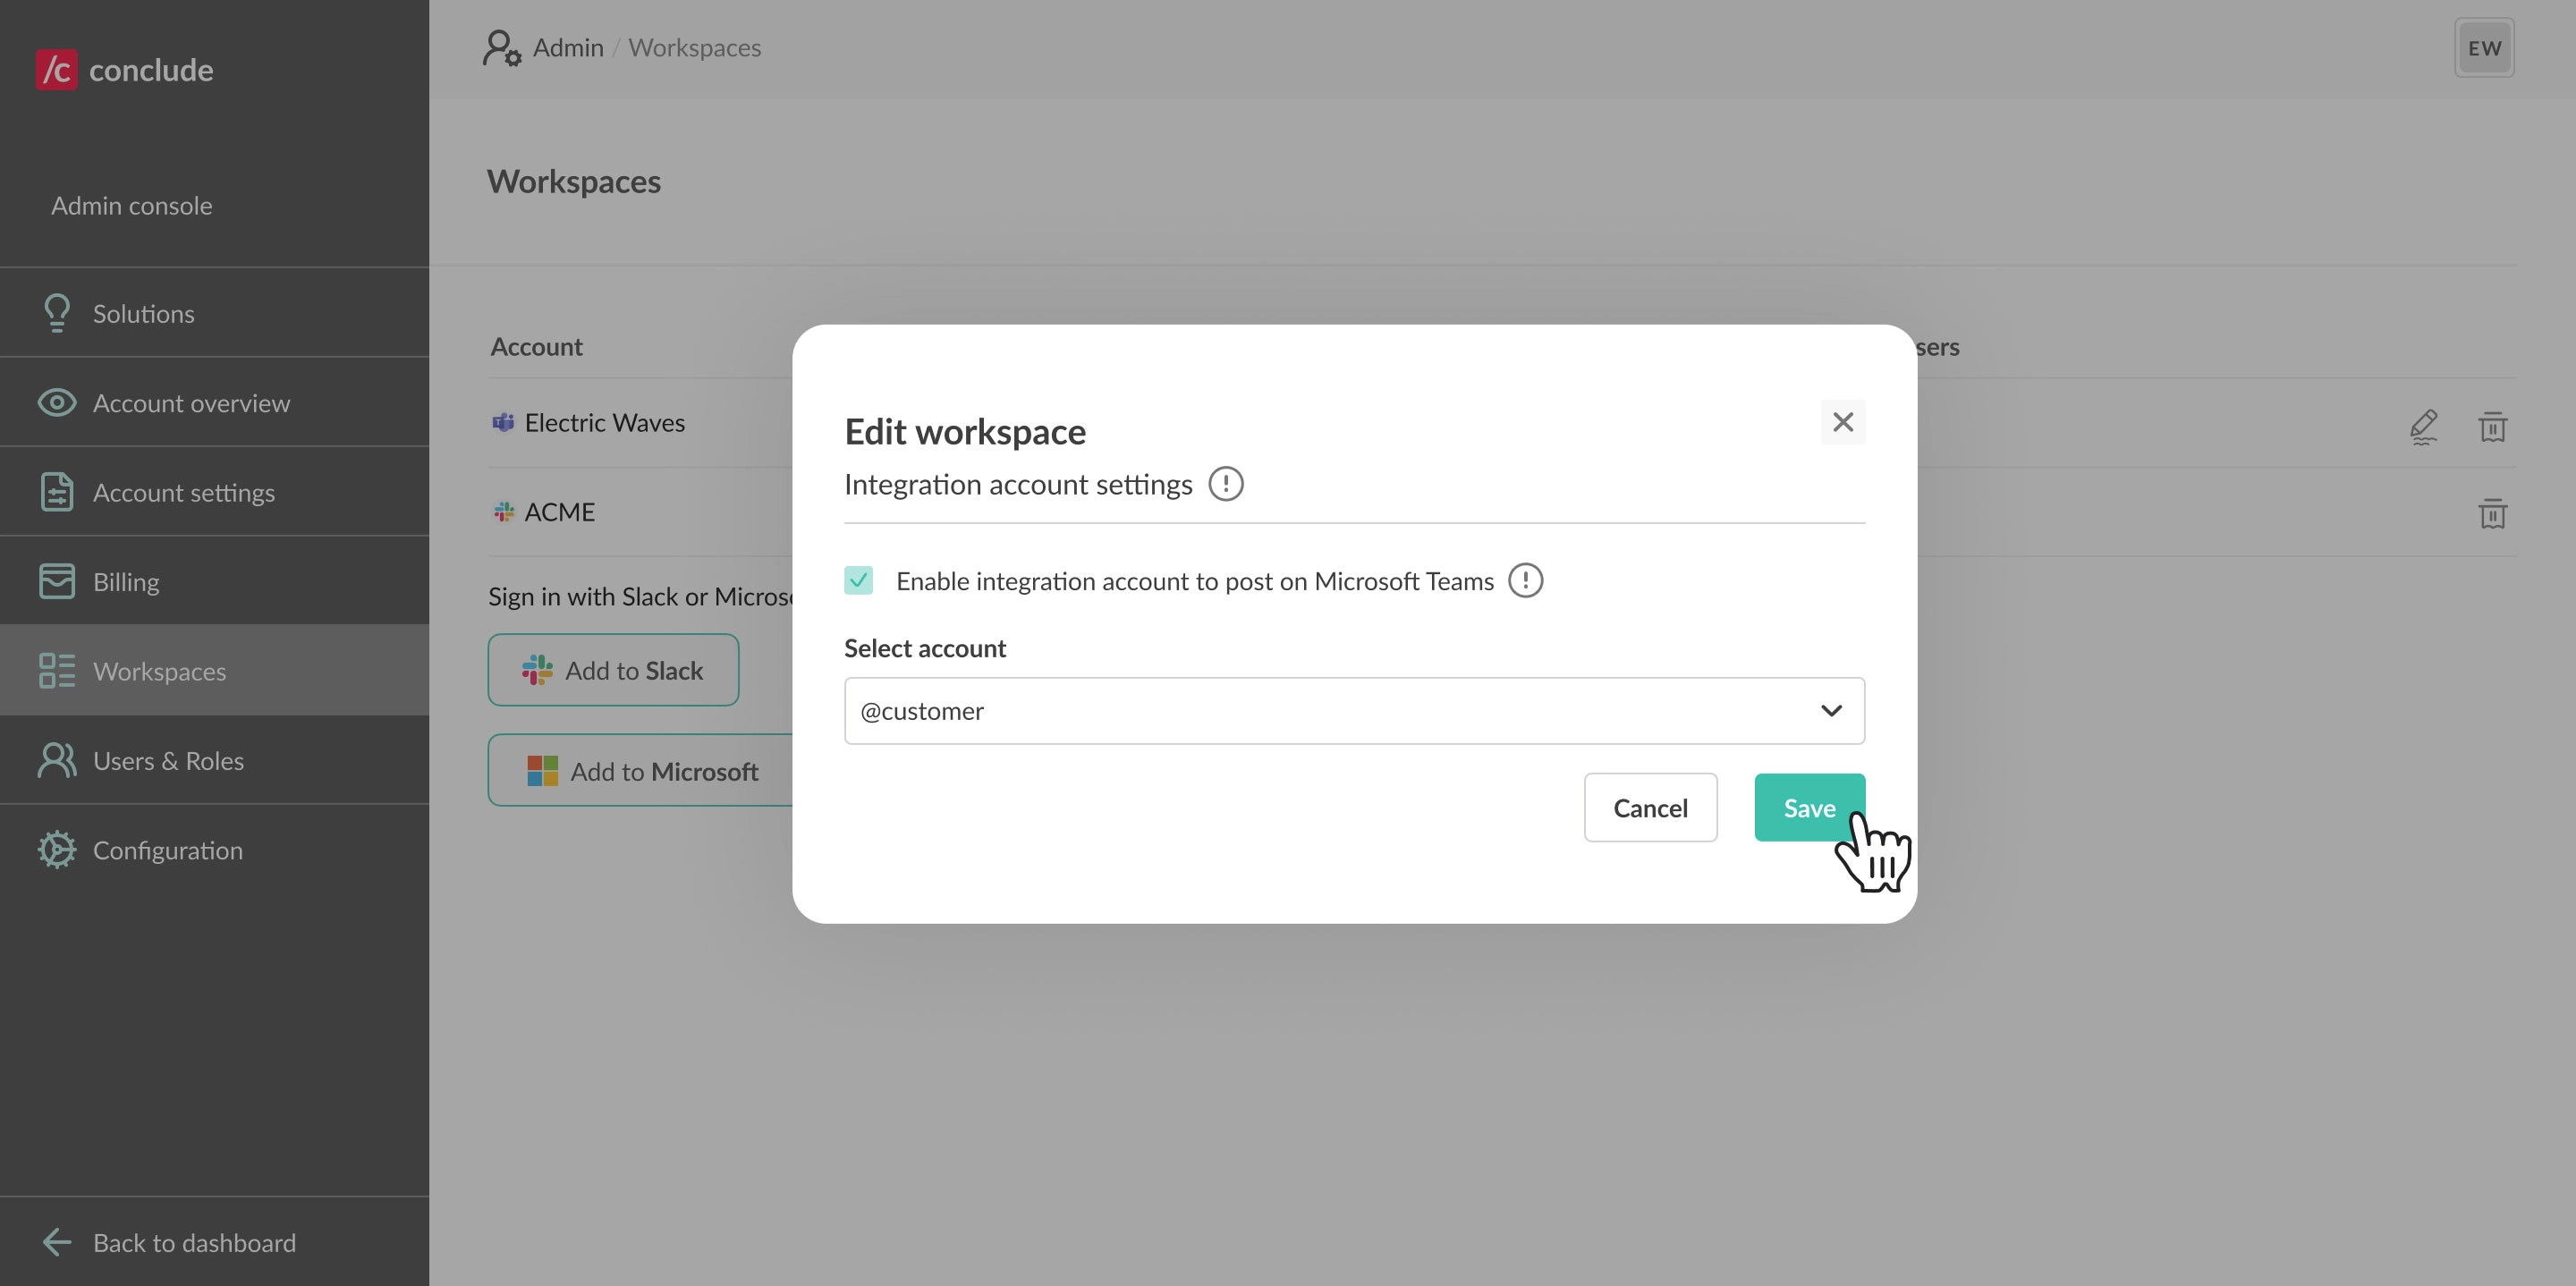
- Click the Edit (pencil) icon next to the workspace where you want to enable the integration account
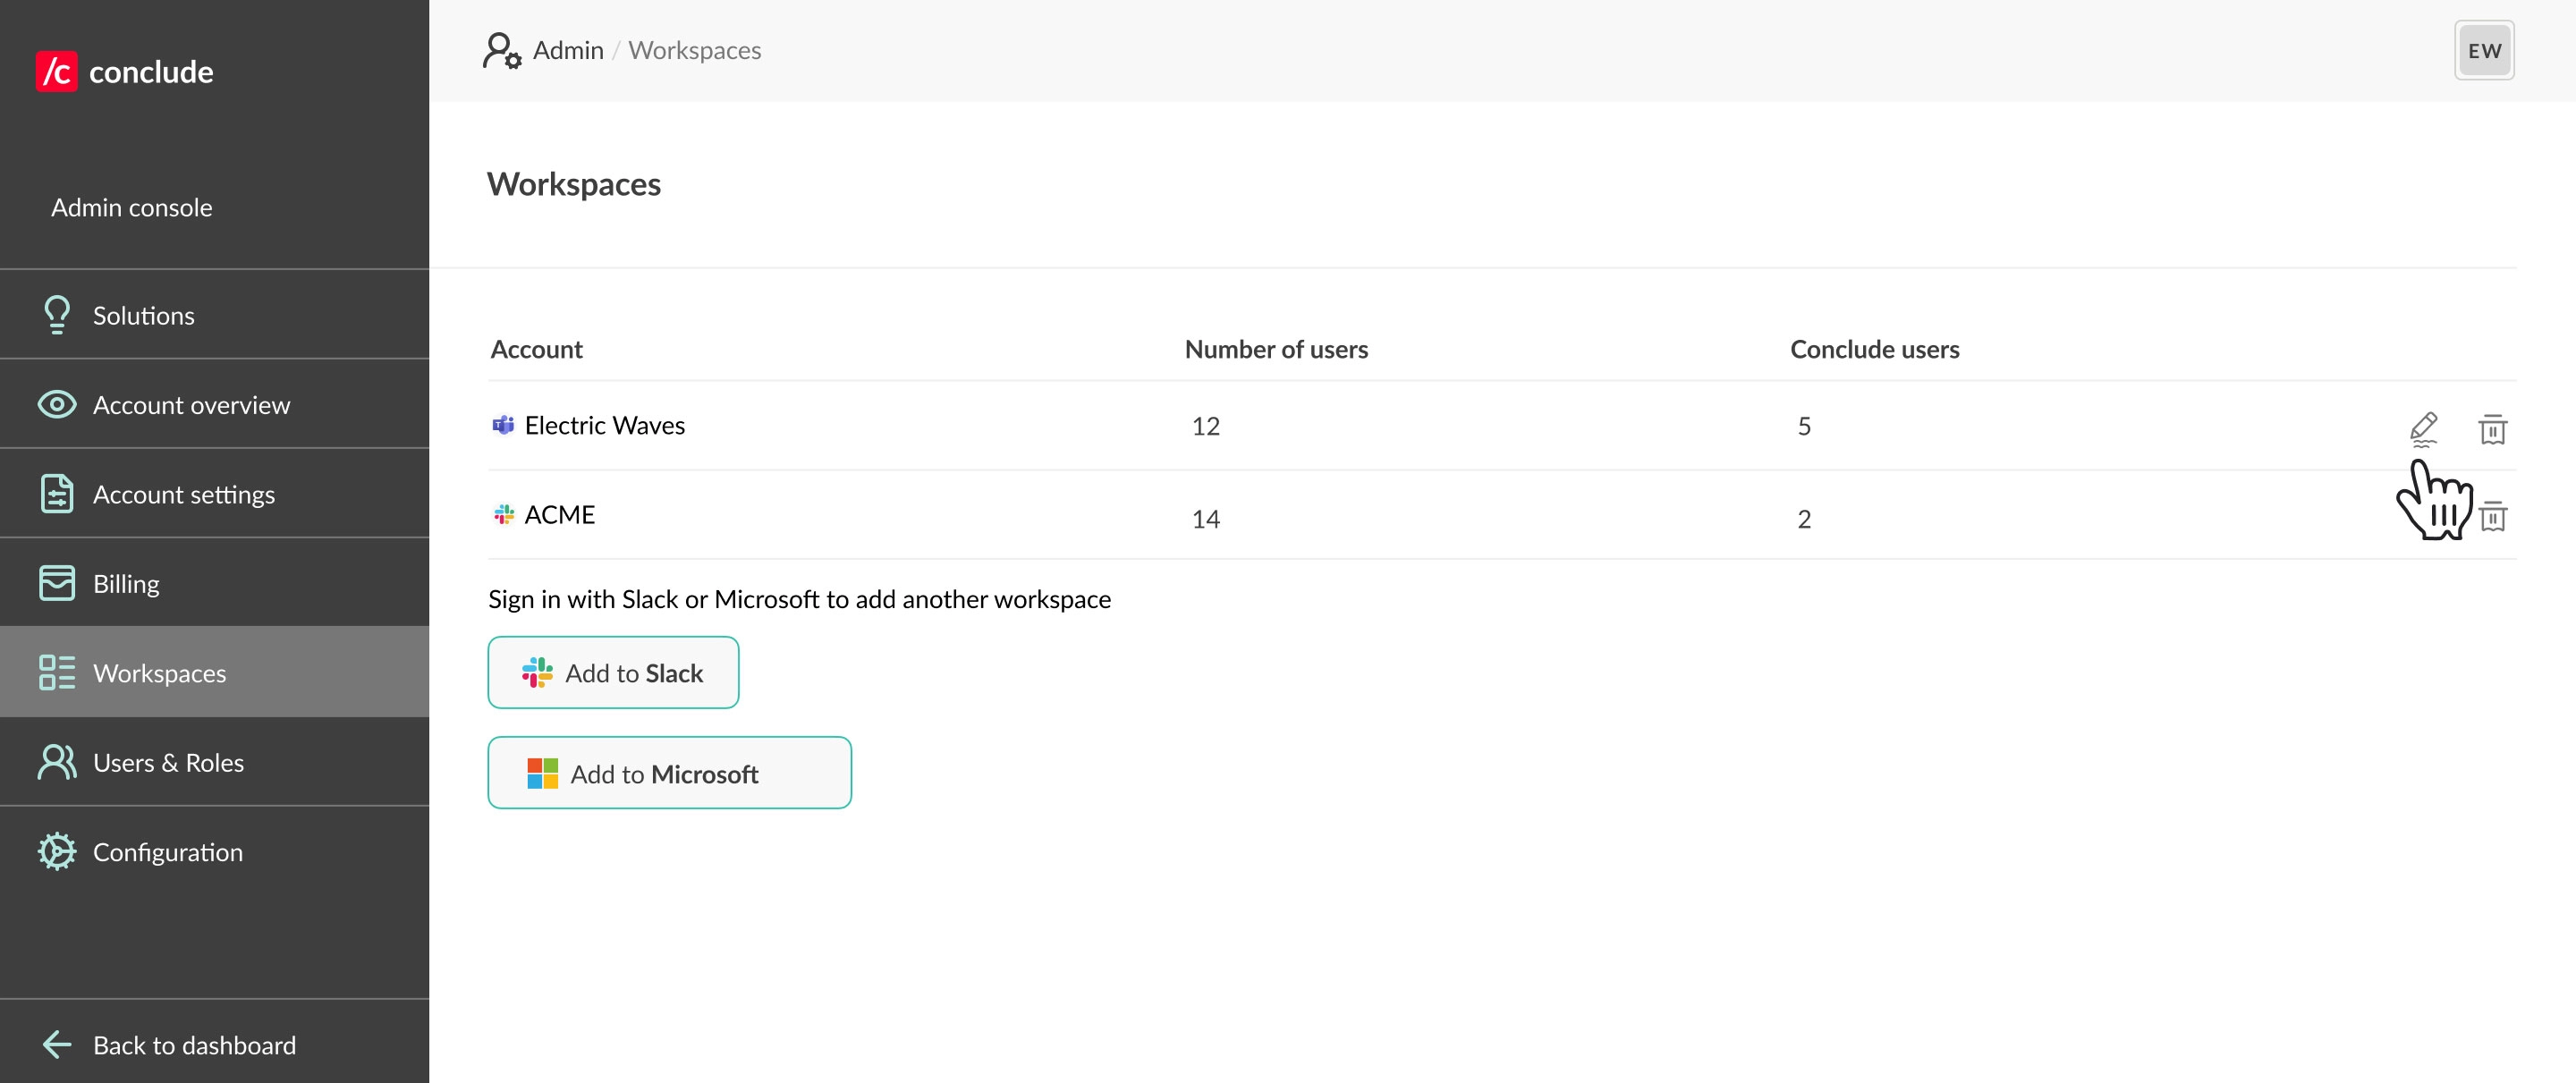
- Select the pre-created integration account from the drop-down, then click Save
The account operates across the entire Microsoft organization. It will post any messages that don’t originate from a user with credentials in the same Microsoft tenant signed in with Conclude.
Important: If the integration account is not yet signed in to Conclude, you will see a prompt to sign in and authorize Conclude to post messages on the account’s behalf.
Additional tips:
- Ensure the integration account is added to the team containing your connected channels. For private channels, manually add this account to the channel
- This setup is recommended even when users exist on both sides, as it provides a fallback when no user credentials are available