# Connect – Bridge Quickstart
How to get started with a company to company Slack-Teams bridge
> Get started with setting up a Slack-Teams bridge between companies. Share and connect selected channels using one invite.
Canonical HTML page: https://conclude.io/quickstart/bridge/
Last updated: 2026-08-18
---
This guide will walk you through setting up an intercompany Slack and Teams bridge. Conclude’s Bridge solution establishes a company-to-company relationship through a single invite and lets both sides share and connect any number of channels, reducing IT admin burden. Watch the video for more.
[Video](https://www.youtube.com/watch?v=AMkxlq1TlfU)
**How Bridge differs from other Connect solutions**
* **Connect for internal collaboration** links Slack and Teams workspaces, channels, and chats within the *same organization*. For this solution, you need to have ownership of both Slack and Teams accounts. See [this page](https://conclude.io/quickstart/connect/ "Cross-Platform Quickstart") for more.
* **Connect for external collaboration** lets you connect your messaging platform with customers, vendors, and partners, using one invite per channel. You only need access to one platform for this to work. This solution is better suited for companies that need to connect fewer channels. See [this page](https://conclude.io/quickstart/connect-external/ "External Collaboration Quickstart") for more.
## How Bridge works
**Step 1. Connect the companies:** An admin in one company sends an invite to a contact in another company. Once that IT admin accepts, Bridge becomes active.
**Step 2. Share and connect channels:** Once active, both sides can independently share channels and connect them in the Dashboard. Messages, files, @mentions, and reactions will sync across Slack and Microsoft Teams in both directions.
Note: this solution can also be used for Slack-to-Slack or Teams-to-Teams workspace and tenant connections when companies don’t want to set up guest accounts and may have a greater need for security.
## Start here
In this guide we will cover:
* Setting up the bridge
* Accepting the invitation
* Confirming the bridge is active
* Sharing channels for connection
* Connecting your channels
* Managing roles and permissions
* Setting up Bridge chats
* Setting up an integration account
## Step 1: Send the Bridge invitation
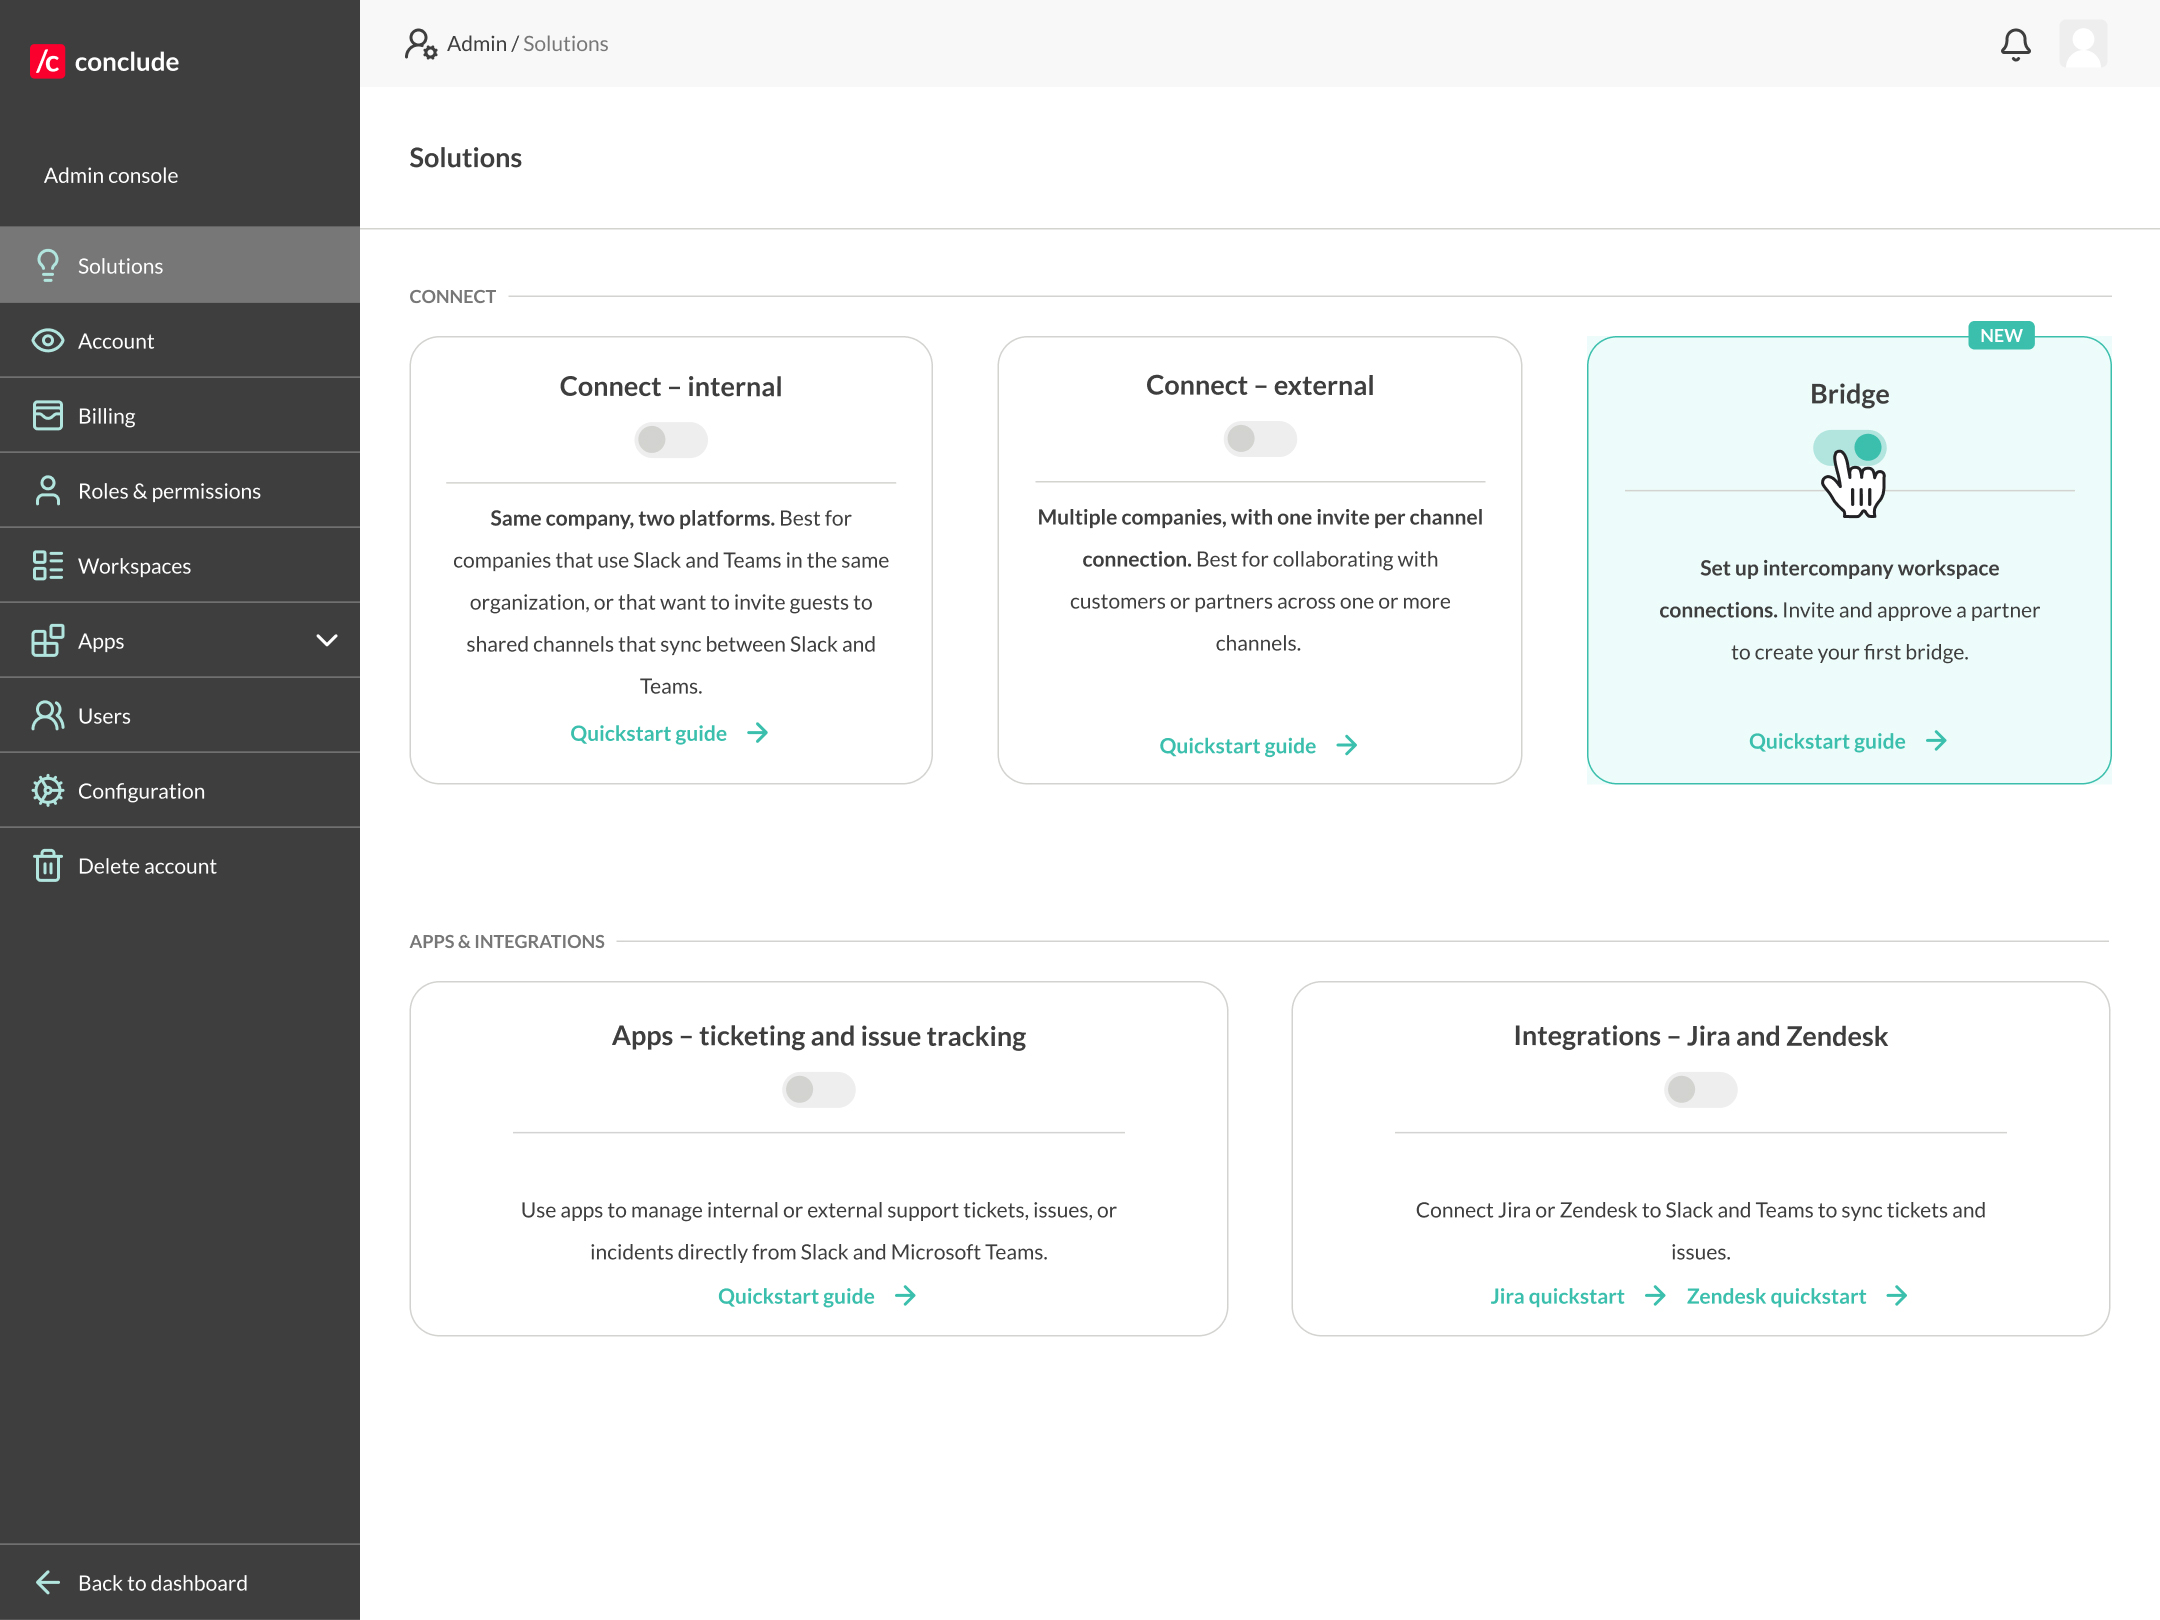
Only admins can create the bridge. Once you have signed up with Conclude (sign in with the platform you use, e.g. Slack or Teams), the admin needs to enable the **Bridge** solution in **Admin console > Solutions**. Once Bridge is enabled, go back to the Dashboard and open the Bridge tab.
Click **Invite a company** in the upper right corner. Enter the contact name and email address of the person at the other company who will accept the invitation (the invitation can be forwarded to an admin), then click **Send**. The invited company will receive an email with a secure link, valid for 96 hours.
## Step 2: Invited company accepts the Bridge invitation
The invited company opens the link from the email and follows the steps. The invitation shows who sent it and which company is requesting the Bridge.
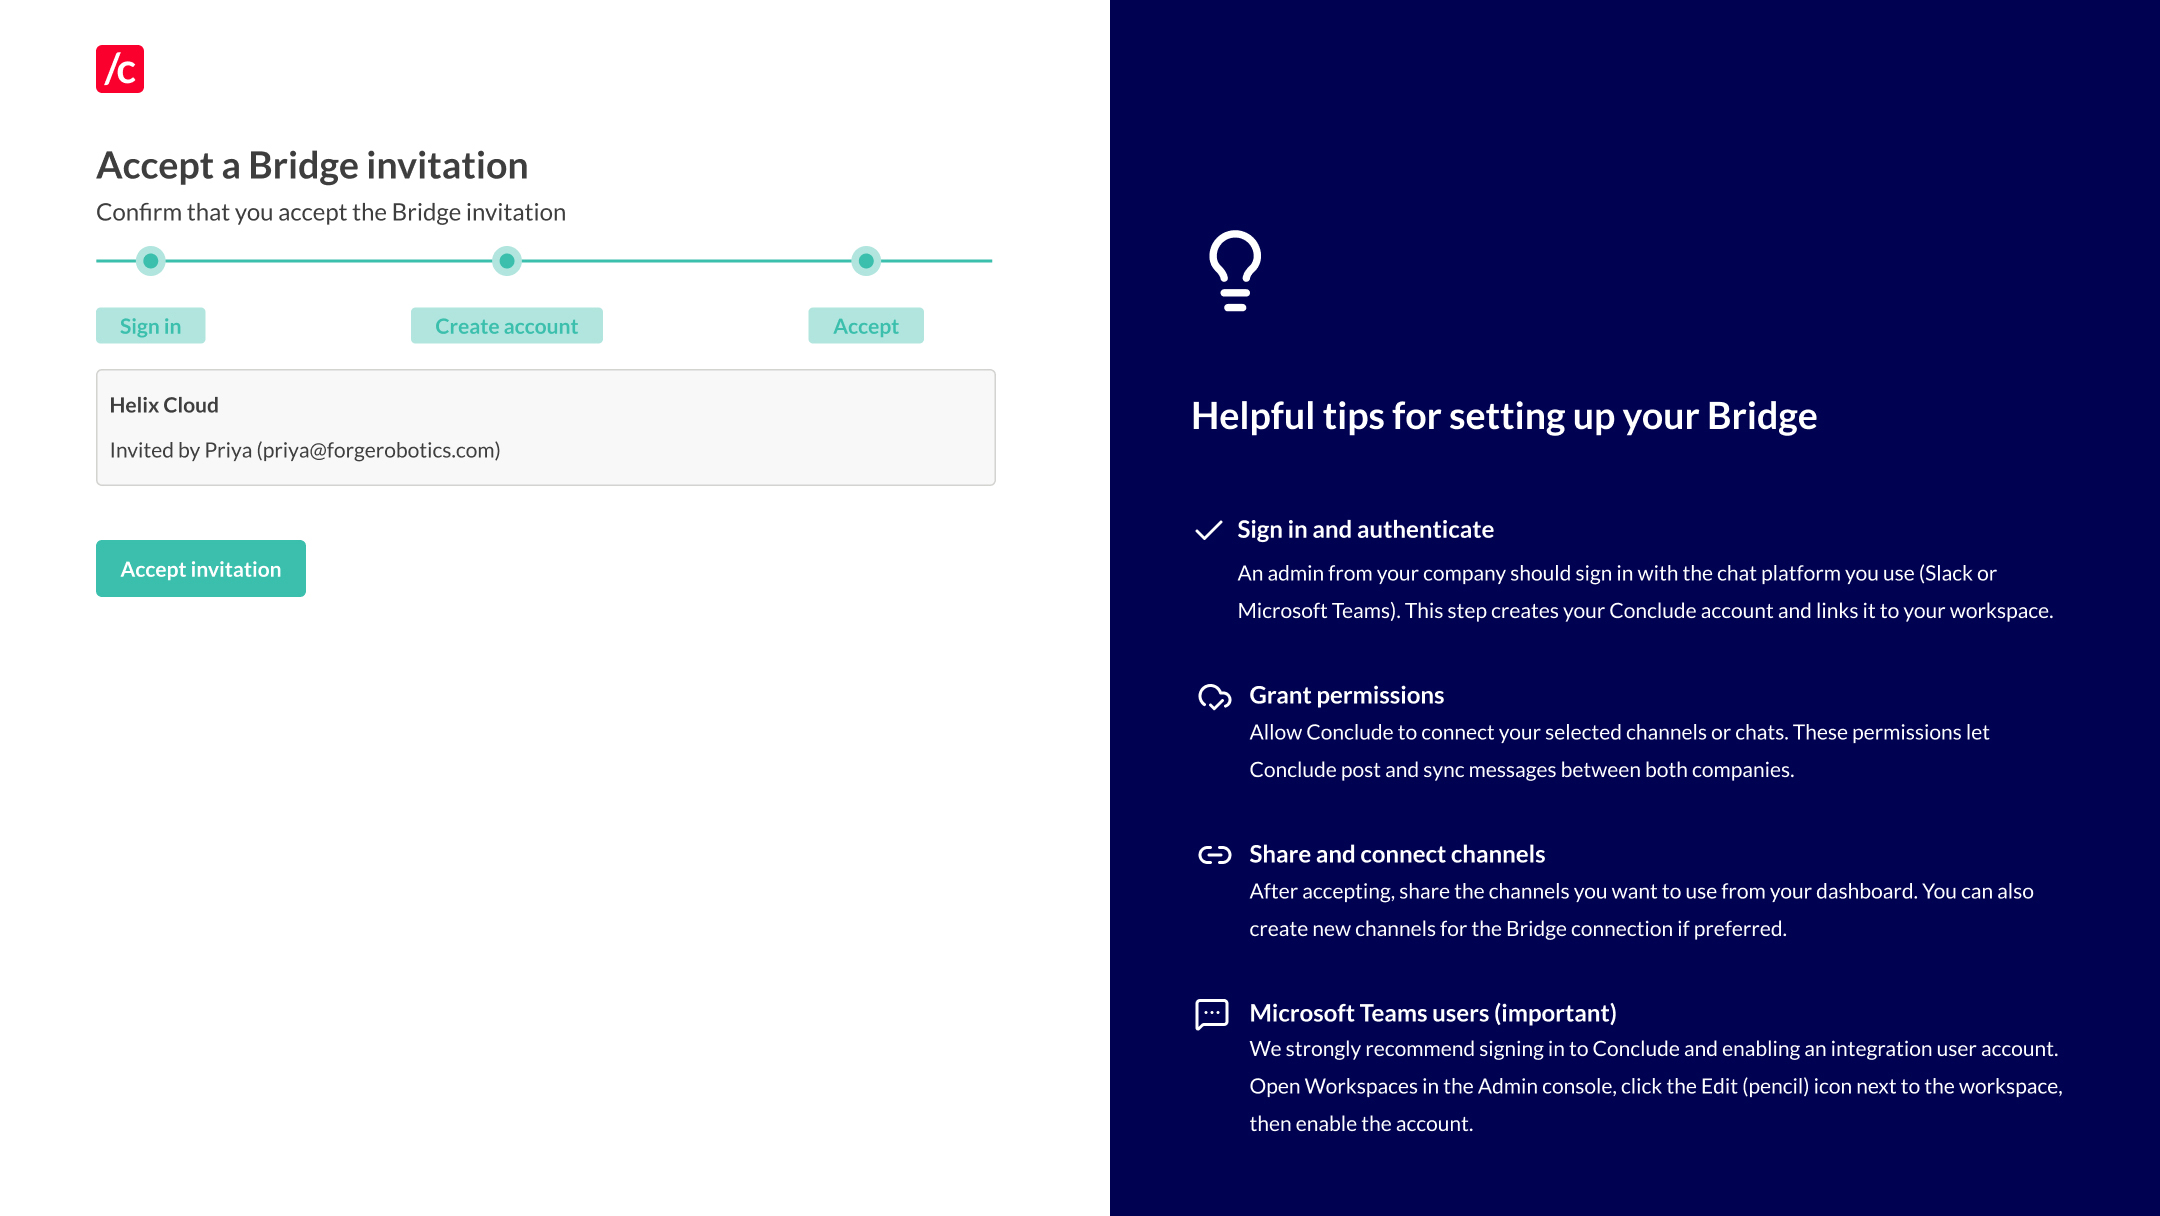
An admin from the invited company signs in with their primary chat platform (Slack or Microsoft Teams), then clicks **Accept invitation**. This creates a Conclude account for the invited company and activates the Bridge for both sides.
## Step 3: Confirm the Bridge is active
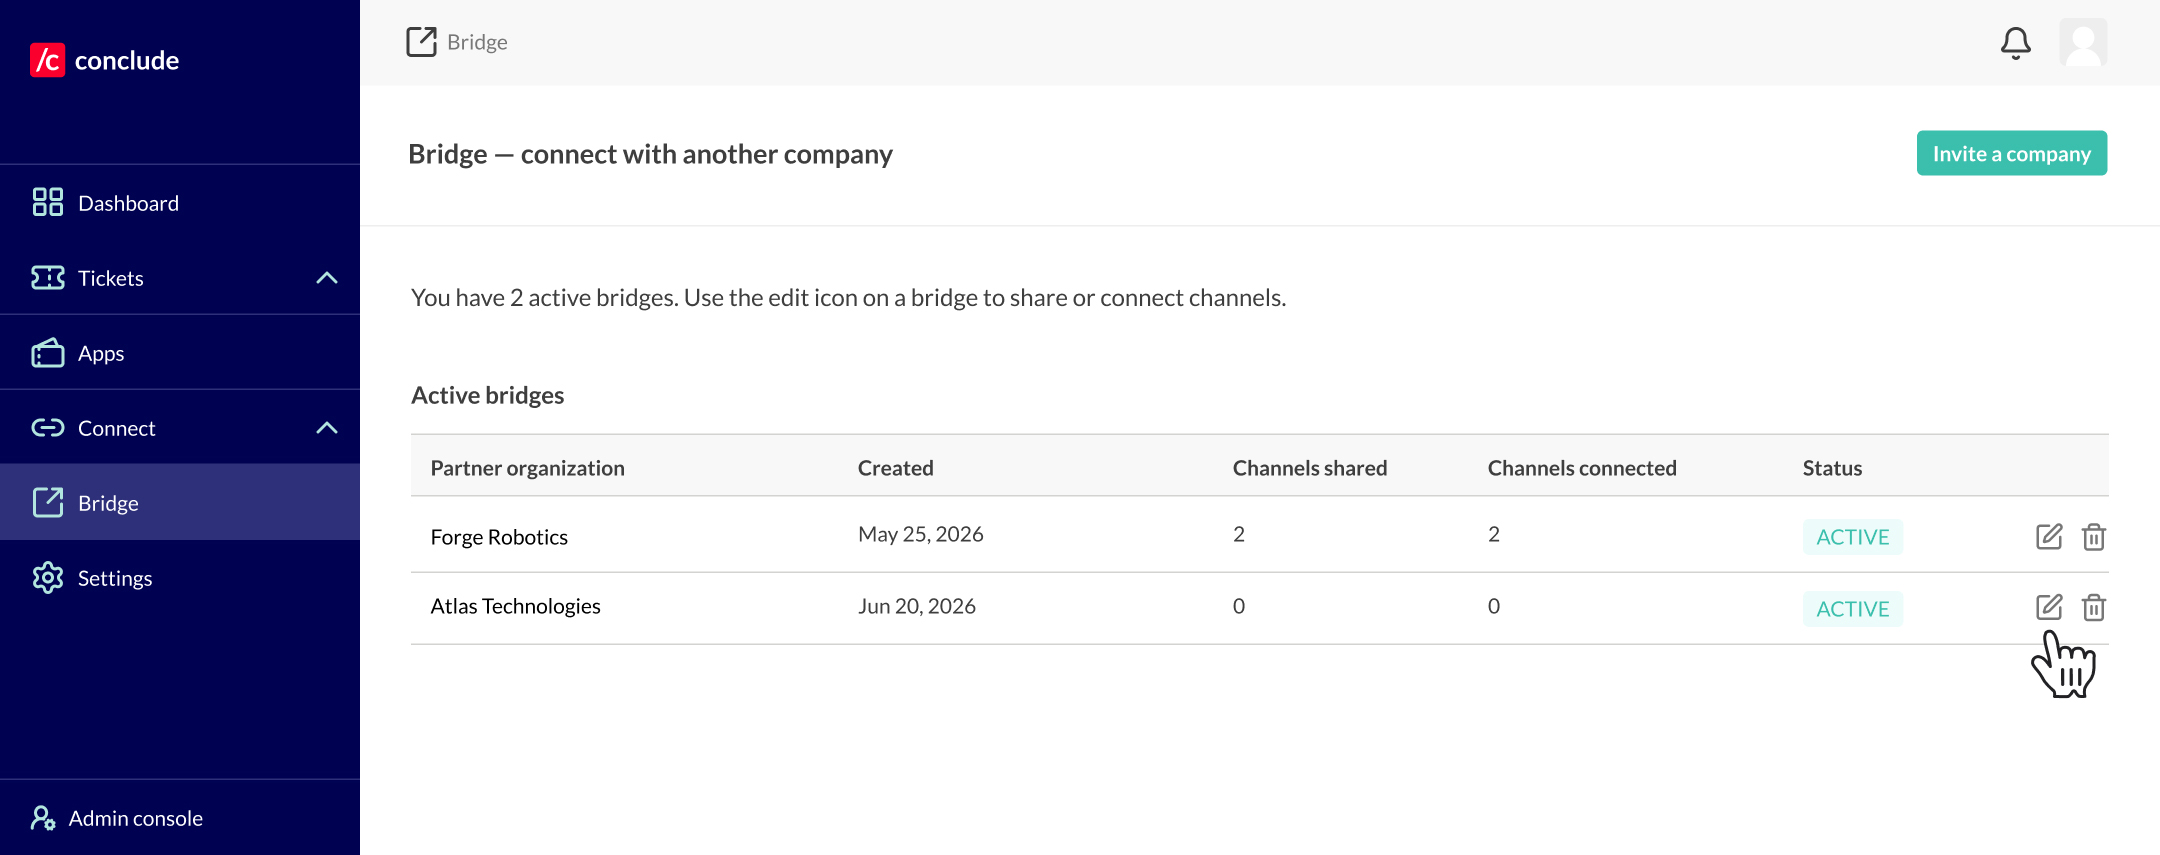
The inviting company's admin can check this in the Dashboard by opening the **Bridge tab**. The partner organization will now appear in the **Active bridges** list with the status **Active**.
## Step 4: Share channels with each other
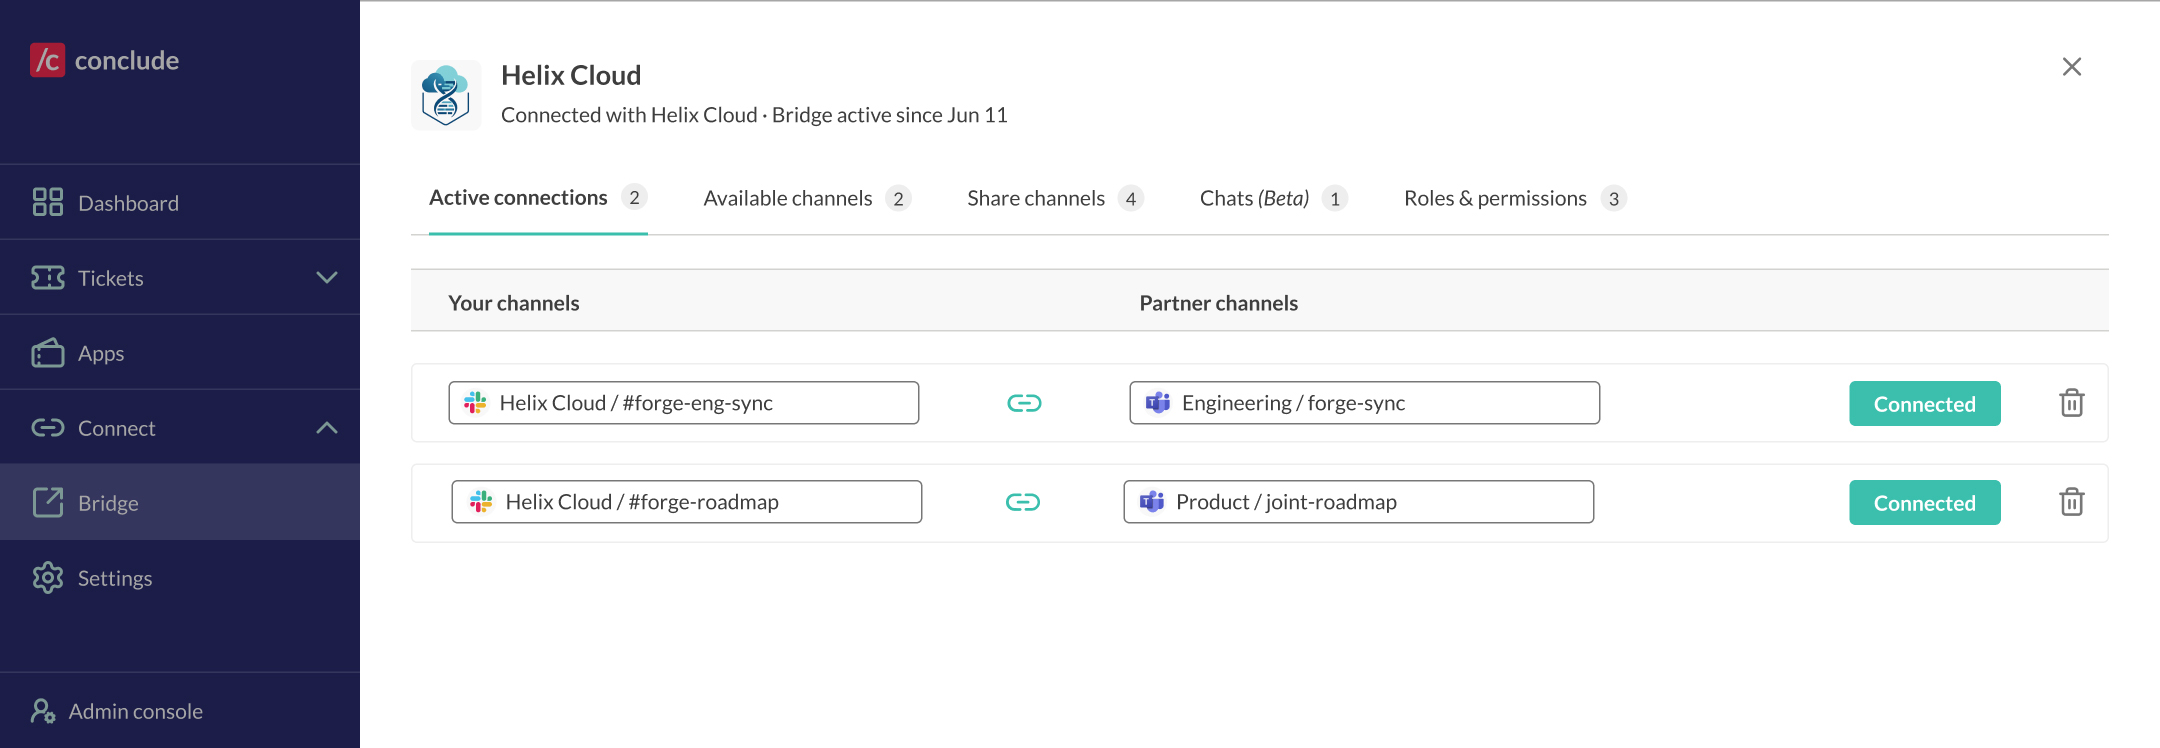
Both companies can share channels and manage what is shared from the Dashboard under the Bridge tab. Find the active bridge you want to manage and click the edit pencil icon. This opens a side panel, where you can view and manage the options for that bridge, including active connections, pending channels, shared channels, chats, and roles and permissions.
Under the **Active connections tab**, you'll see a card for each active channel connection. You can also check what’s pending.
On the **Share channels** tab, you can select which channels you want to share with the external company.
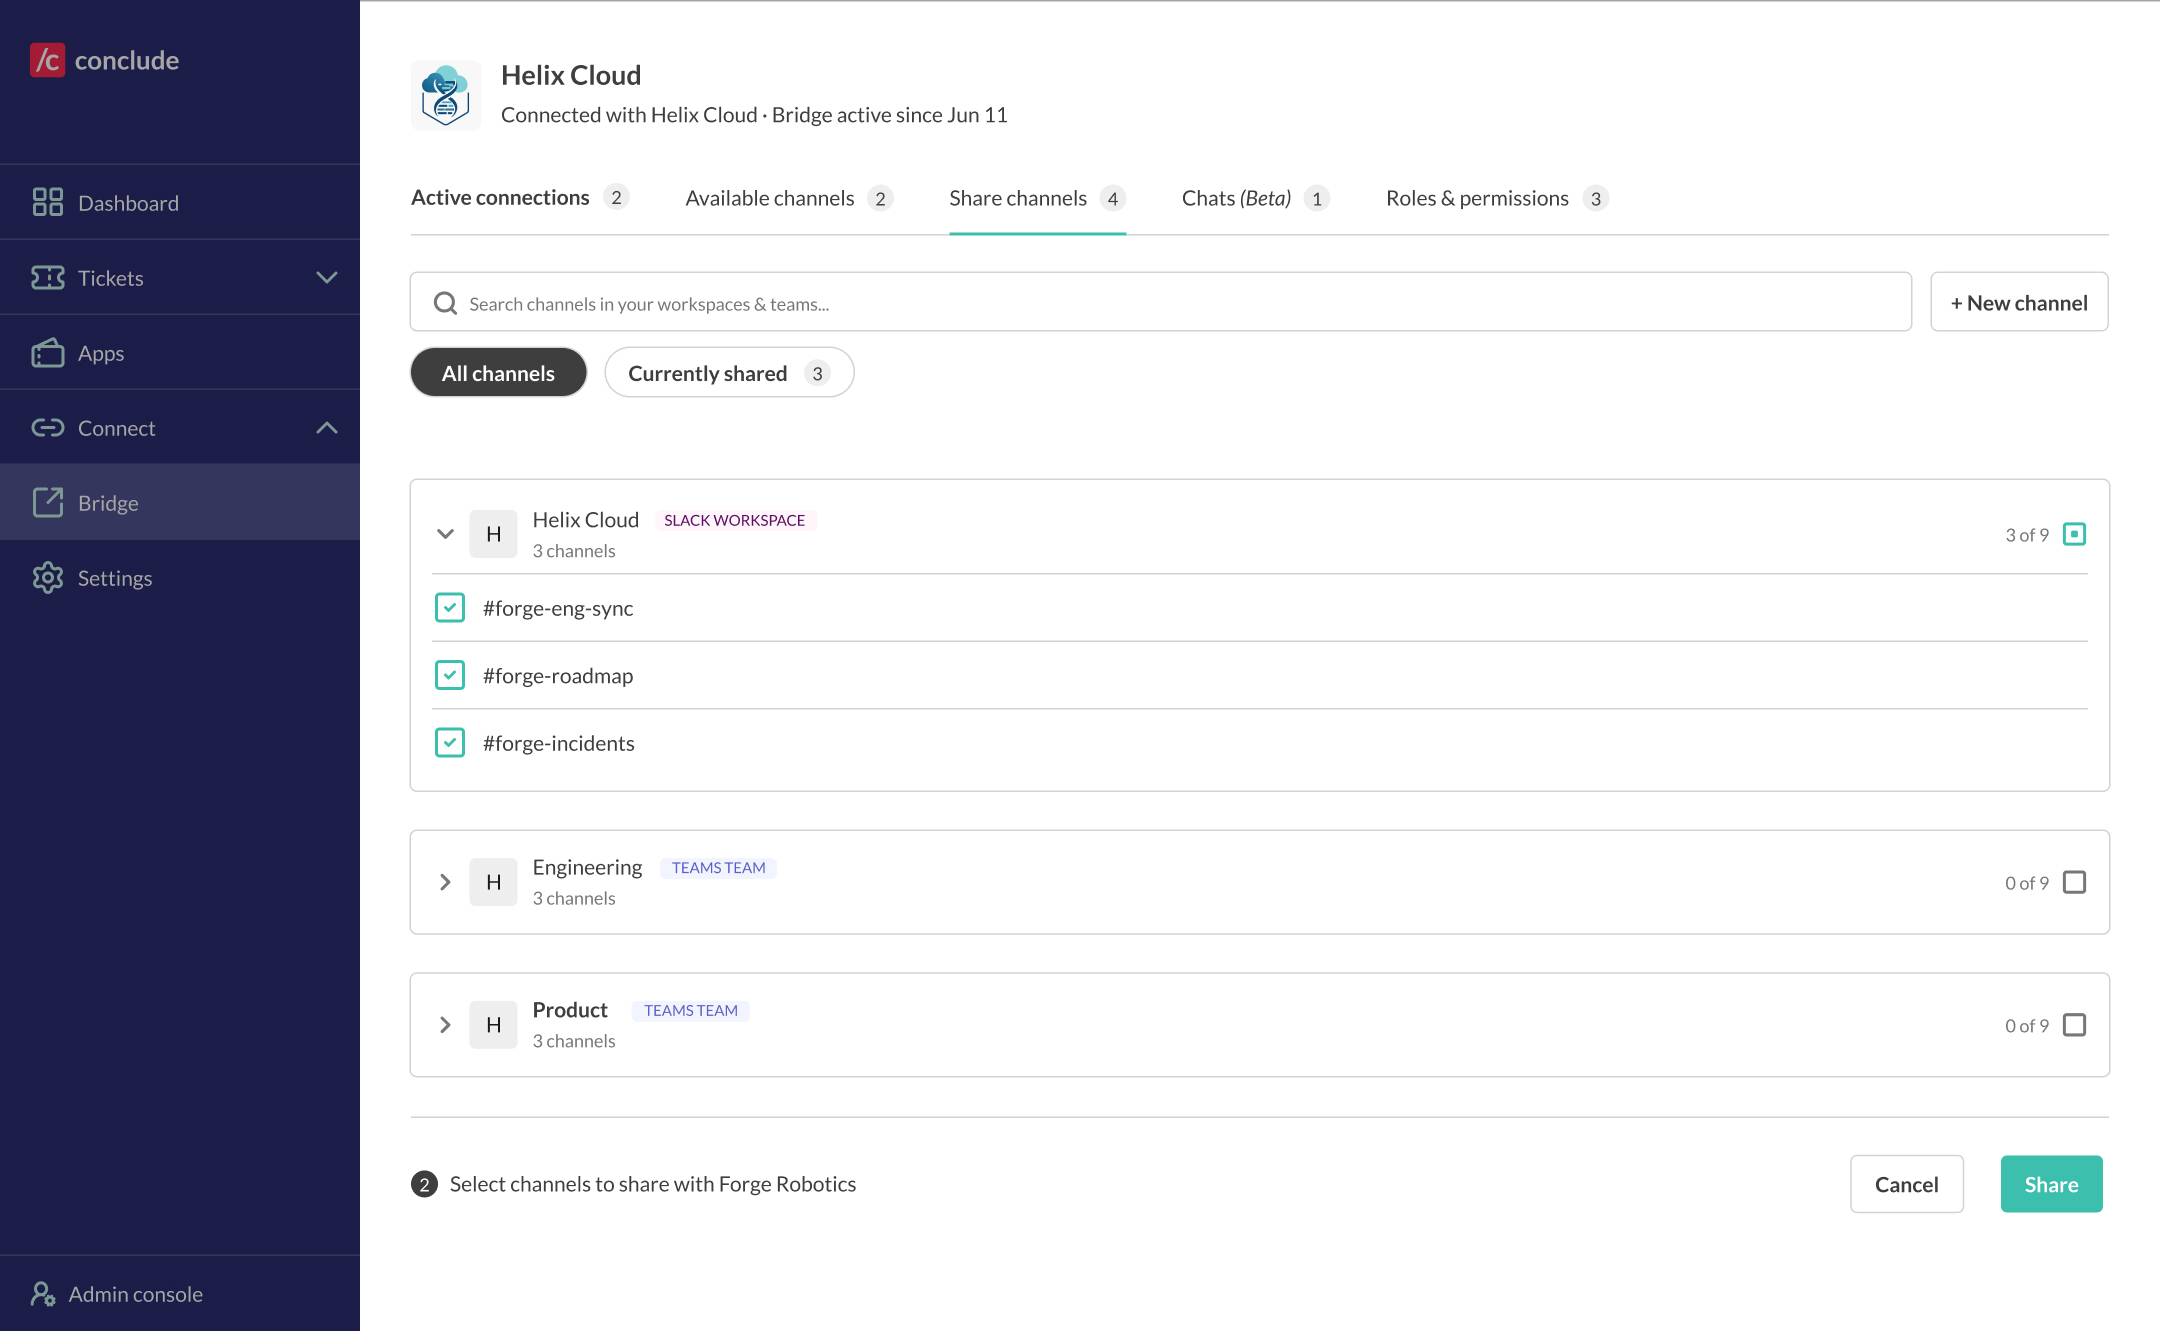
Select the channels you want to make available to the partner company and click **Share.** They will now see those channels and can connect them to their own channels.
Things to note:
* You can come back later and share more channels at any time
* Both sides share independently – you don’t need to share at the same time
* Sharing doesn't connect the channel – it just makes it available for pairing
**Tip:** For Microsoft Teams, channels are grouped by Team. You can share individual channels or all channels in a Team. For Slack, all eligible channels in your workspace are listed.
## Step 5: Connect your channels
Once both sides have shared at least one channel, you can connect them by selecting the channel and clicking **Connect**. Connecting a pair of channels will sync all messages, files, @mentions, and reactions between them.
Under **Bridge** from the **Available channels tab**:
* Pick one of your shared channels from the **Your channels** dropdown
* Pick one of the other shared channels from the **External channels** dropdown
* Click **Connect** to establish the connection (it becomes active immediately)
* Users in both channels will see a welcome message confirming the channels are linked
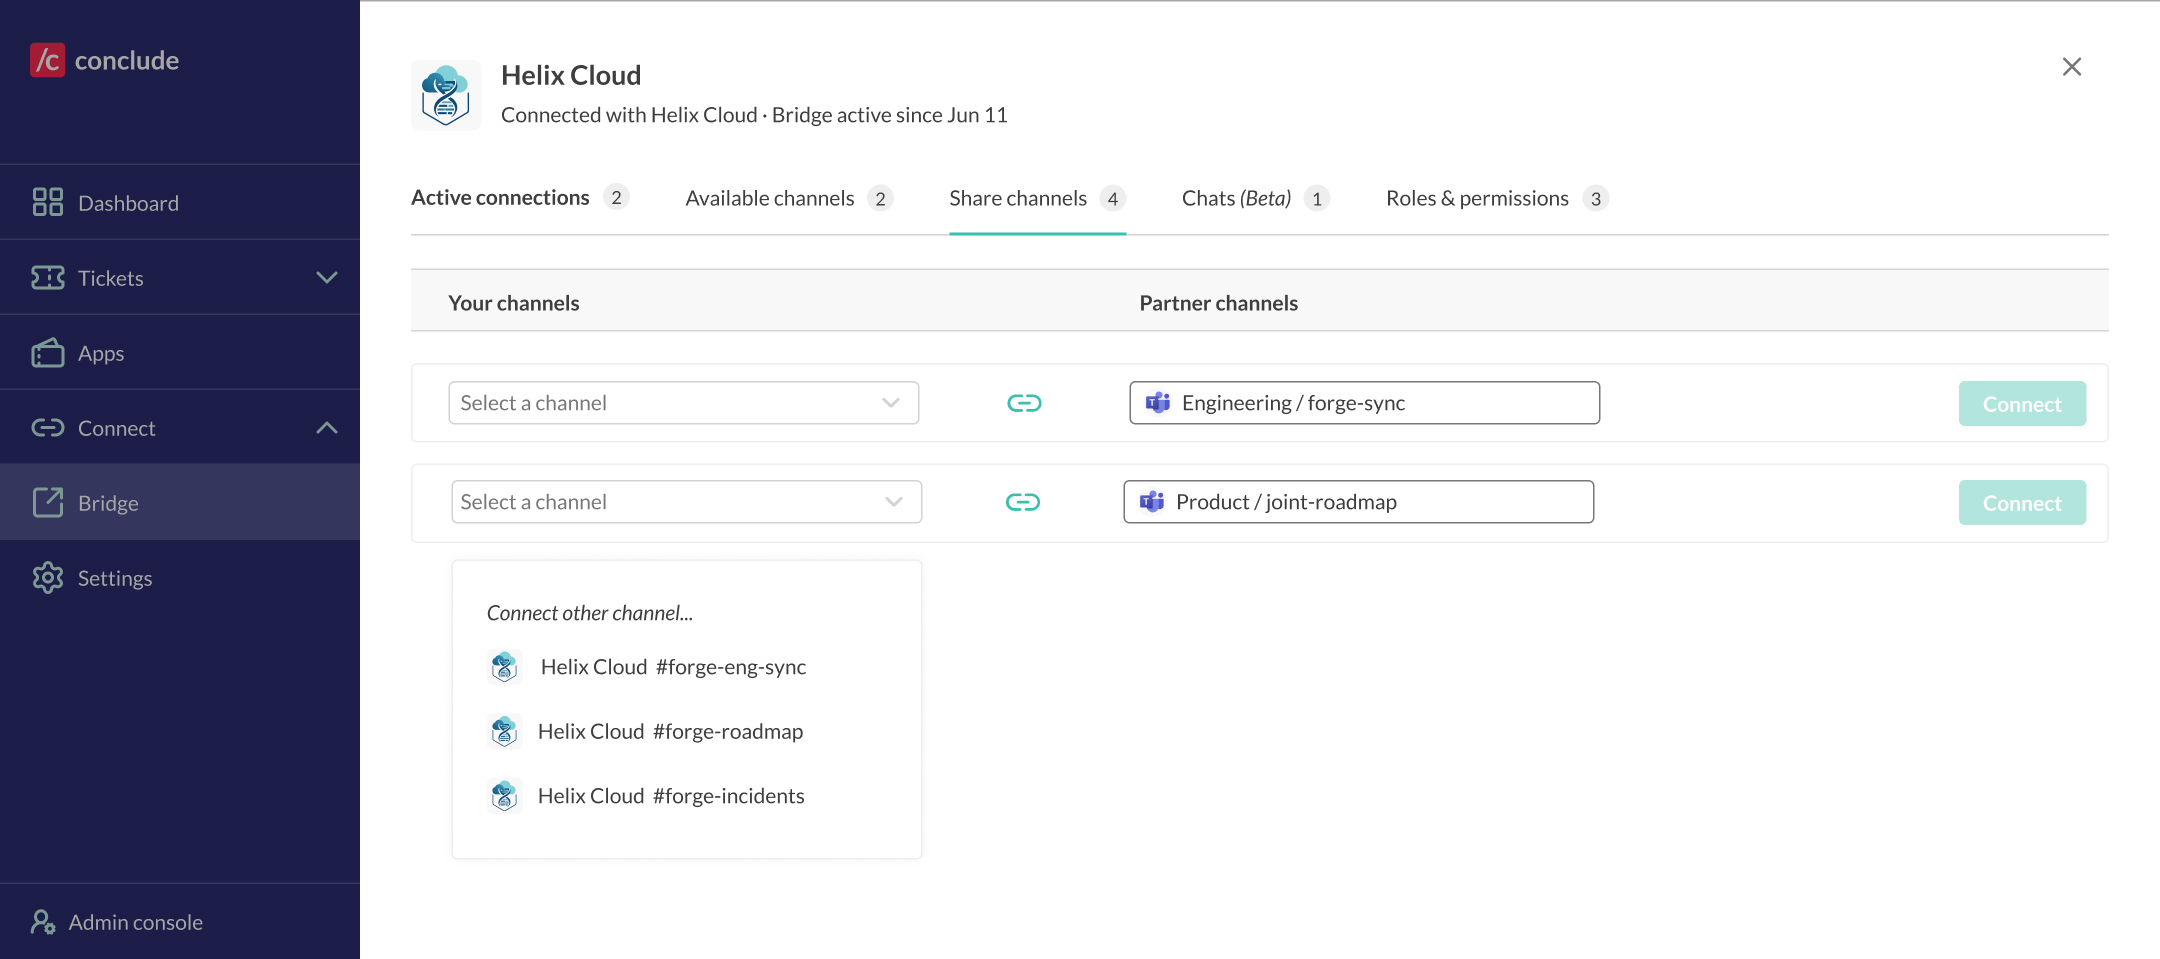
**Note:** A channel on your side can typically only be connected to one channel on the external/partner's side. To pair with another channel, share a different channel first.
## Step 6: Manage roles and permissions
The **Roles & permissions tab** controls who can manage Bridge and who can use Chats. There are two types:
* **Bridge admin** – can manage settings, chat access, and members
* **Chat access** – members who are allowed to start and join Bridge Chats
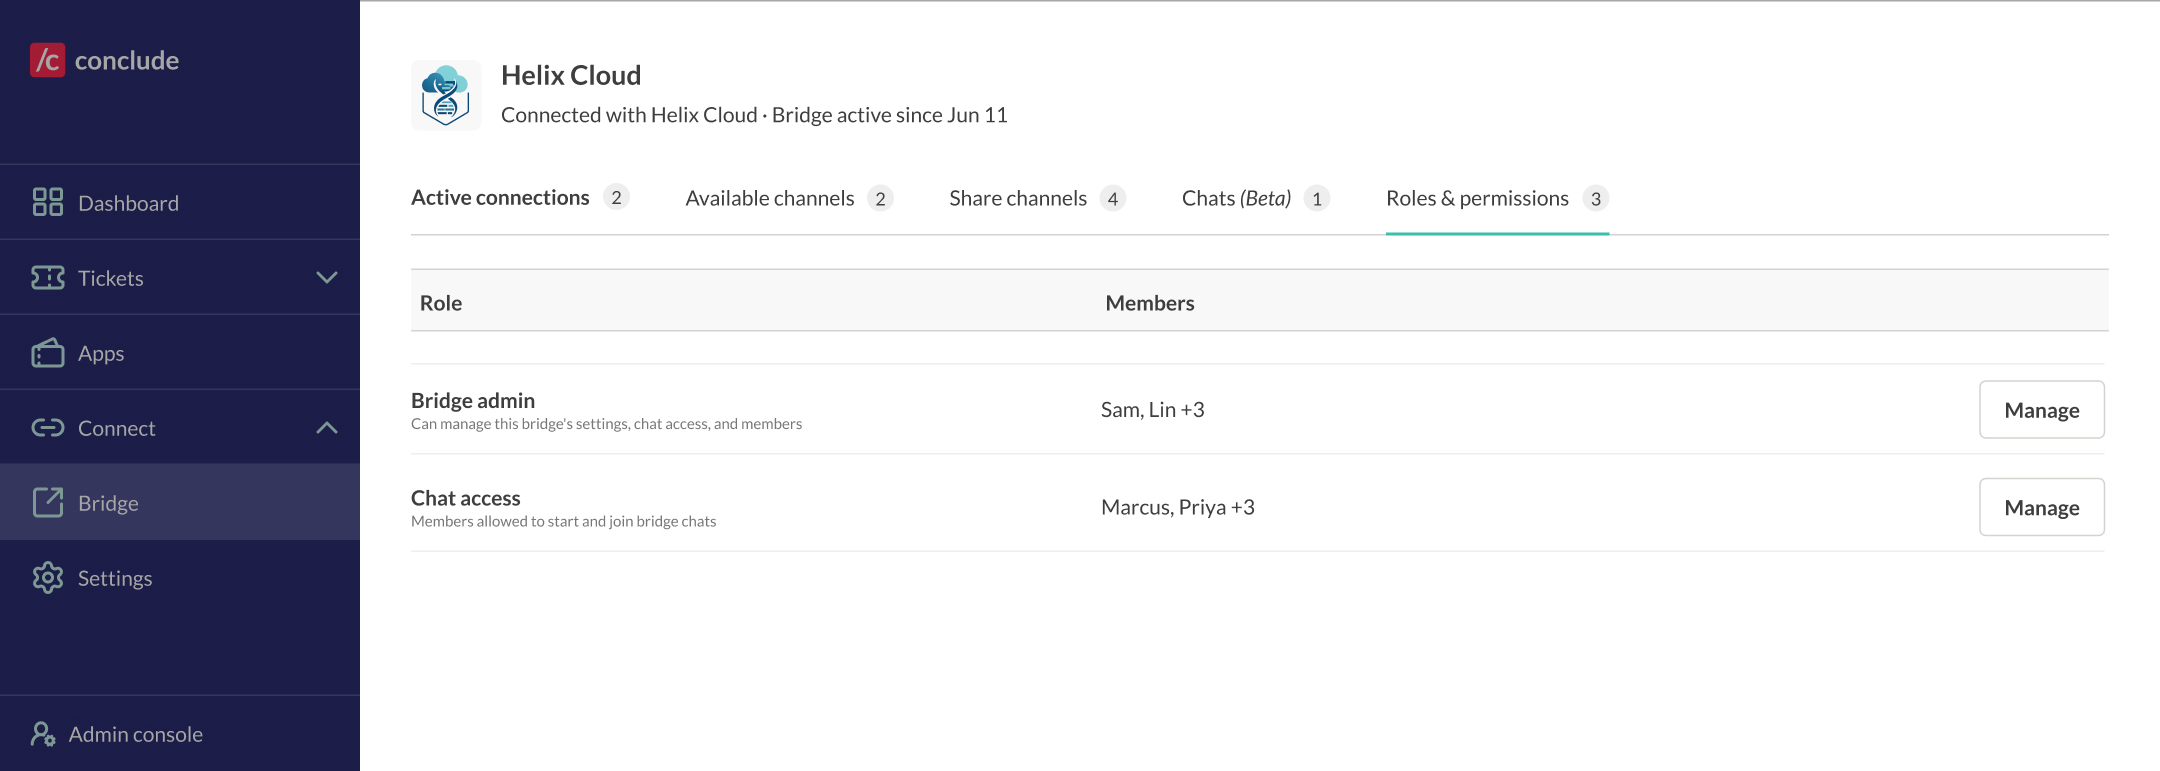
Click **Manage** next to a role to open the member panel. Here you can remove a member (click the X next to their name) or add members by searching for a user under **Add member**. Click **Save changes** to apply.
## Step 7: Create Bridge Chats (Beta)
Along with connecting channels, Bridge also lets you start group chats with people at the partner company. Open the **Chats (Beta) tab** in the Bridge side panel to see the members of Bridge Chats, the channel in Slack, and the chat in Teams.
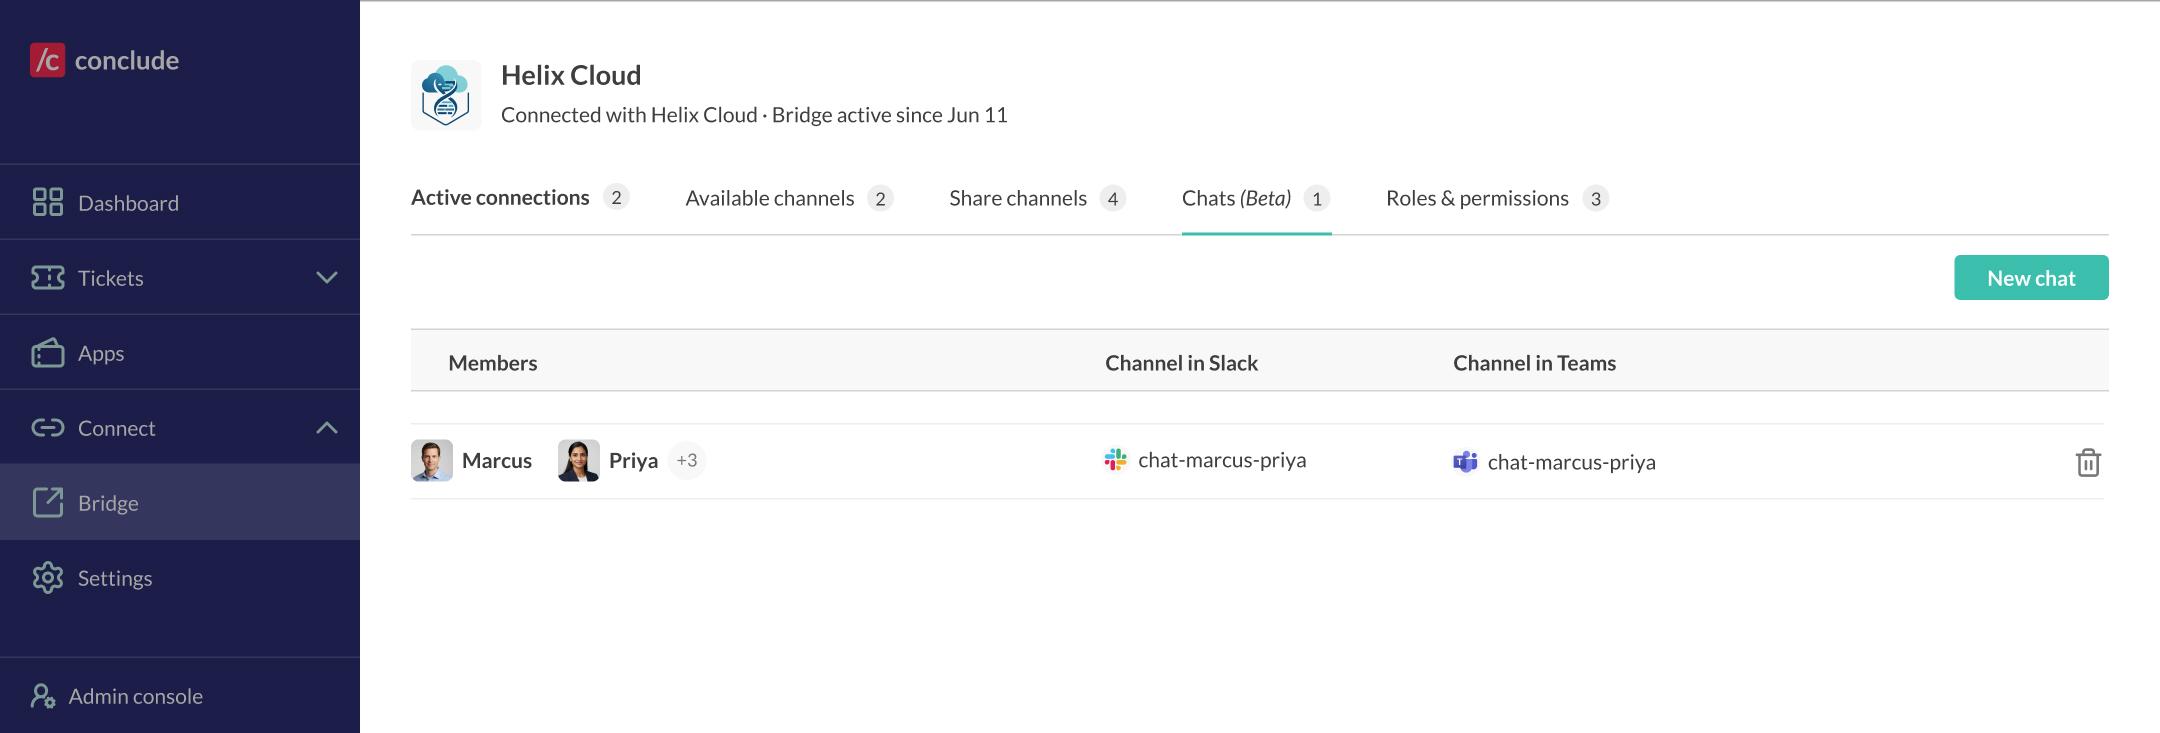
To start a new chat:
* Click **New chat** in the upper right corner
* Select the chat members from your company and the partner company (only members with chat access can start and join chats)
* Optionally, add a topic and a custom channel name and click **Create**
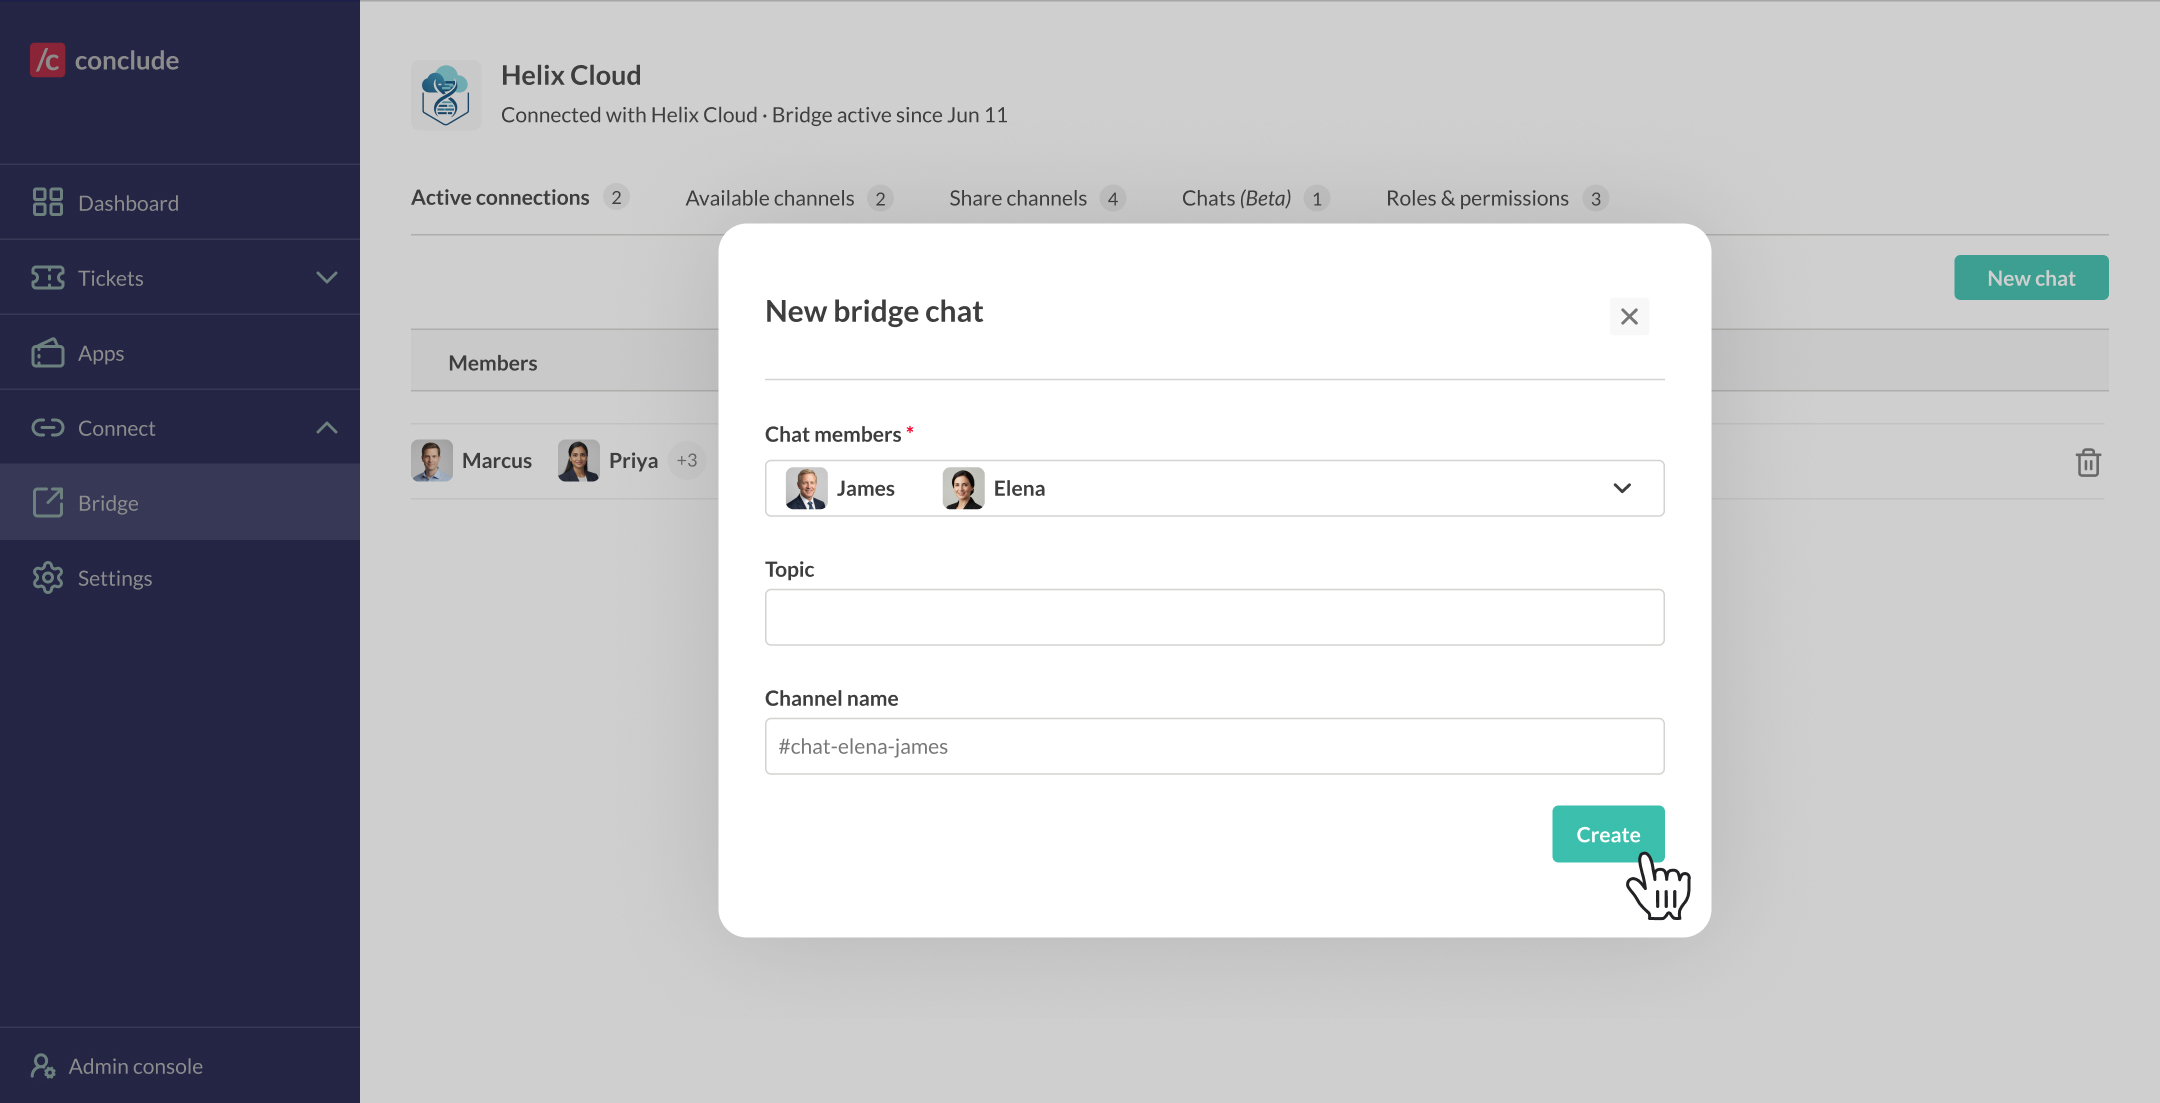
Once created, Conclude creates a connected group chat in Teams and a private channel in Slack with the same name on both sides. As with connected channels, all messages, files, @mentions, and reactions sync between platforms. To delete a chat, click the trash icon next to it in the list.
## Managing your Bridge connections
Active bridges (between companies) and their channel connections are managed under **Dashboard › Bridge**. You can:
* Share additional channels at any time on the **Share channels** tab
* View all connected channels on the **Active connections** tab
* Control who can manage the bridge and use chats on the **Roles & permissions** tab
* Start or delete Bridge chats on the **Chats (Beta)** tab
* Disconnect a single channel pair without ending the Bridge
* Remove a Bridge completely from the **Dashboard > Bridge tab** – this disconnects all channels and ends the company-to-company connection
## Setup tips
### Microsoft Teams integration account
If you use Microsoft Teams, we strongly recommend enabling an [integration account](https://conclude.io/doc/developer/microsoft-teams-integration-account/). Without it, some messages may appear to come from a fallback sender. Open **Admin console › Workspaces**, click the edit (pencil) icon next to the workspace, and enable the integration account. The integration account must also be added to the Team and the connected channel (for private channels, add it directly to the channel).
### Channel naming
If you plan to connect several channels, naming them consistently on both sides (for example, **\#project-x** on Slack and **Project X** on Teams) makes it easier to match them when connecting.