
Explanation
Bridge
On this page
Bridge connects two companies that need an ongoing set of shared conversations. Administrators approve the relationship once. Each company then chooses which channels to make available, and channels from the two lists can be paired without a new invitation for every pair.
This model fits an acquisition, a joint project, or a long-running partnership. It supports cross-company Slack-to-Teams, Slack-to-Slack, and Teams-to-Teams collaboration.
Approval and sharing are separate
| Action | What it does |
|---|---|
| Accept a Bridge invitation | Establishes the relationship between the two companies. |
| Share a channel | Makes that channel available for pairing; sharing alone does not start message synchronization. |
| Connect a channel pair | Starts synchronization between those two channels. |
| Disconnect a pair | Ends that channel connection without ending the other pairs. |
| Delete the bridge | Ends the relationship and disconnects its channel pairs. |
Each organization selects its own shared channels. Neither can add channels to the other company’s list. Review both lists as the relationship changes.
Set up the relationship
You need the Manage bridges permission, under Admin console > Users and access > Roles & permissions > Connect .
- Enable Bridge in Admin console > Solutions , then open Bridge in the Dashboard.
- Choose Invite a company and enter the contact’s name and email address.
- An administrator at the invited company follows the emailed link, signs in, and selects Accept invitation. Invitations are valid for 96 hours.
- Each company opens Share channels and selects the channels it wants to make available.
- Under Available channels, select a shared channel on each side and click Connect.
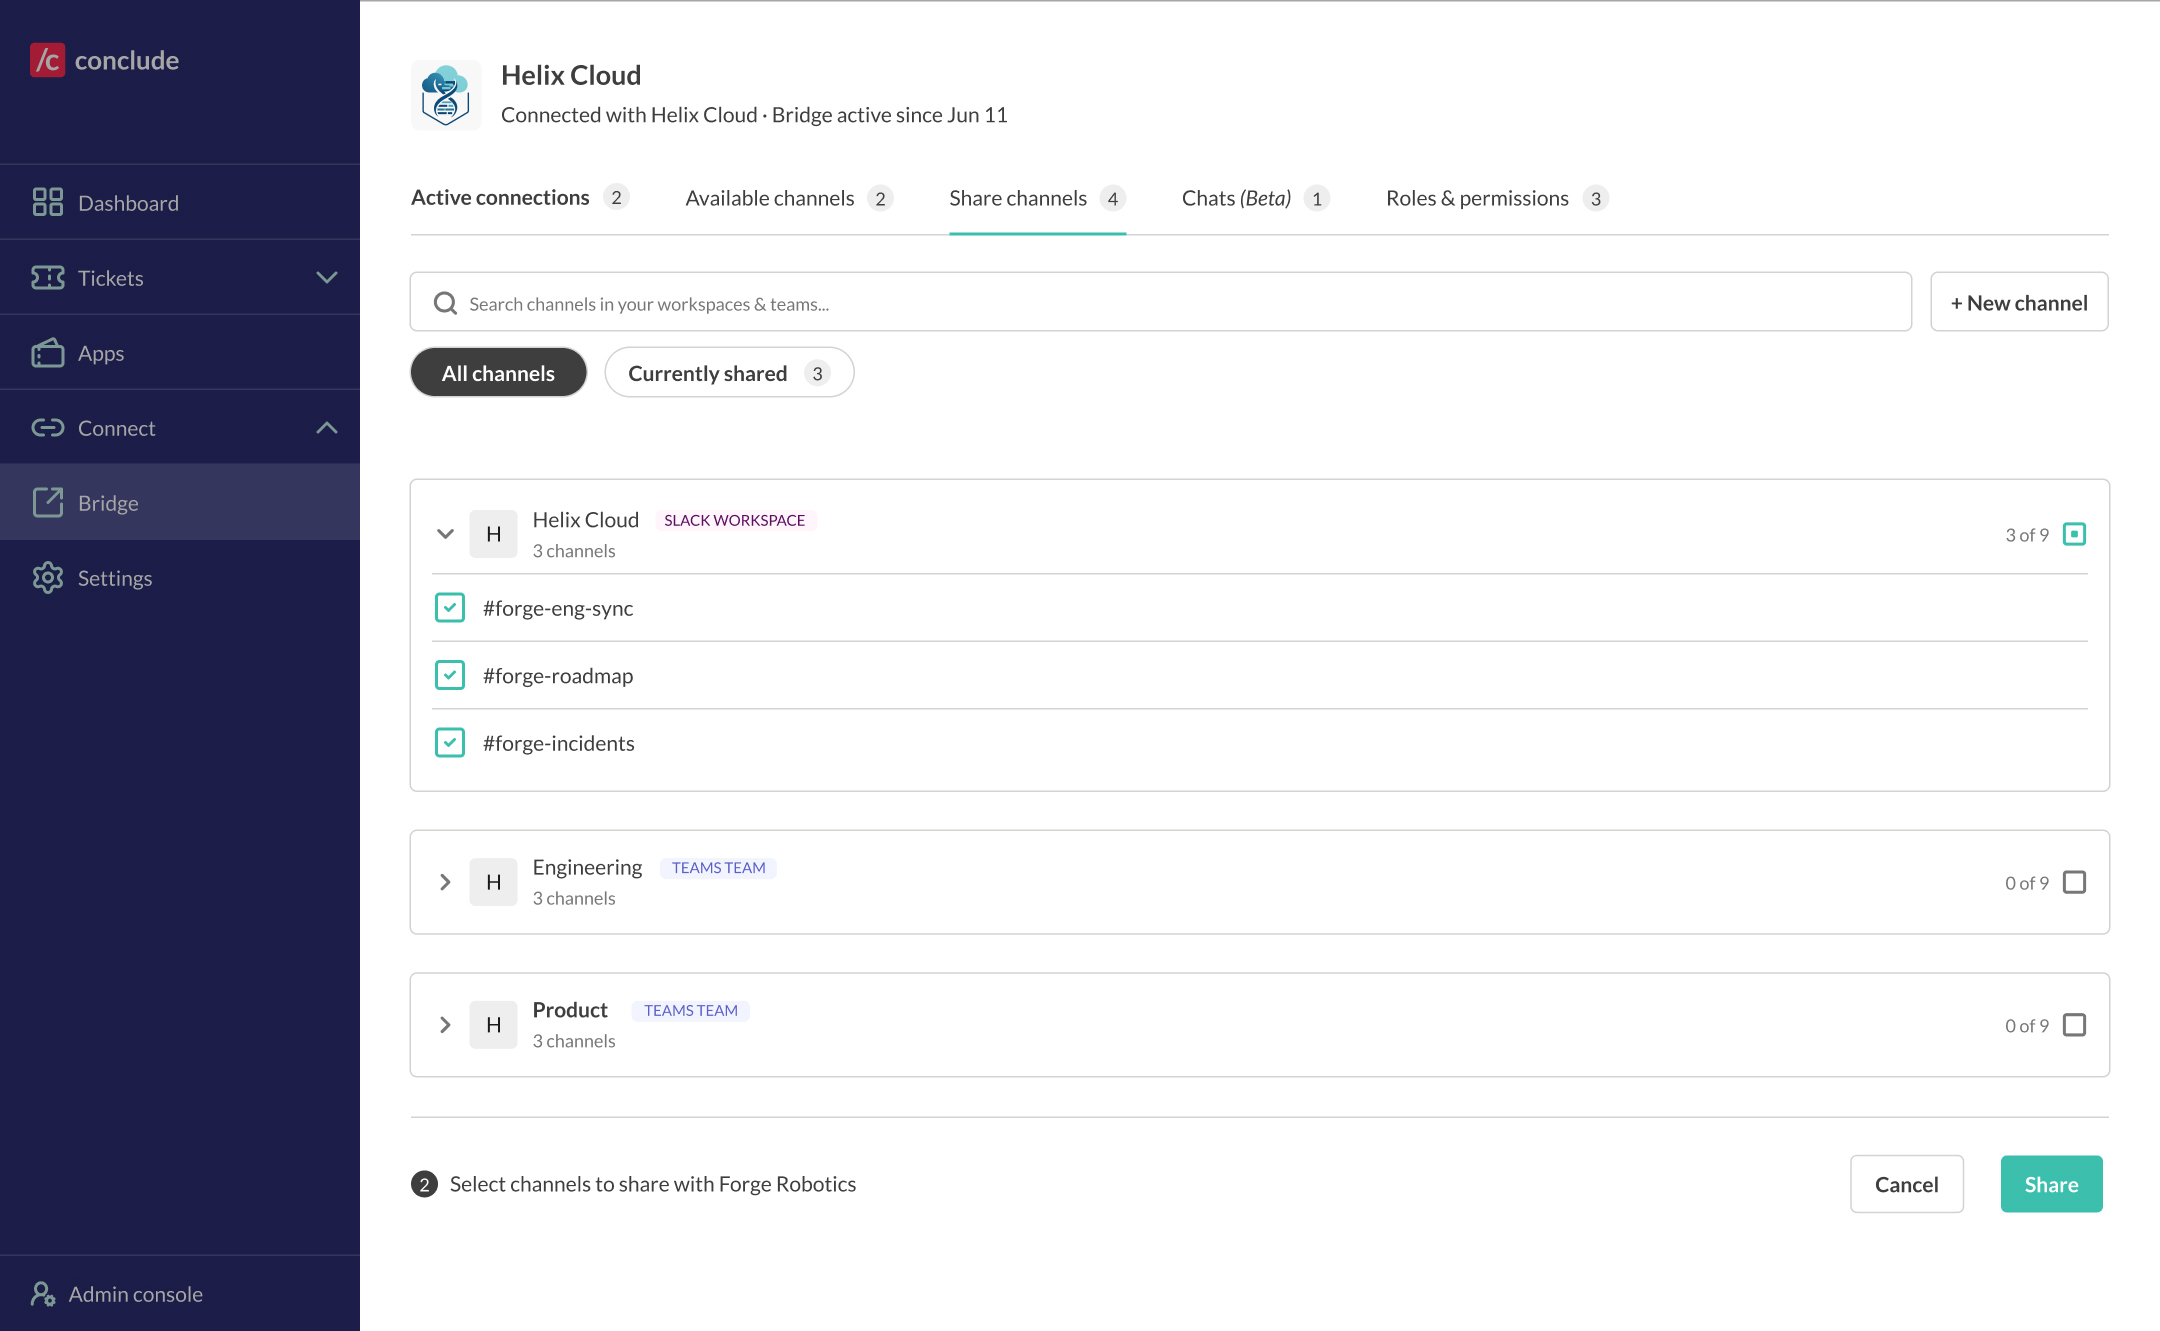
The Bridge quickstart provides the full installation and invitation walkthrough. Microsoft Teams participants should configure an integration account and confirm its membership in the relevant teams and private channels.
Delegate management and chat access
Open the bridge’s side panel and choose Roles. Bridge admin grants control over settings, chat access, and members. Chat access identifies people allowed to start and join Bridge chats. Click Manage beside a role, add or remove members, and click Save.
Where Chats (Beta) is available, choose New chat, select eligible people from both companies, optionally enter a topic and channel name, and click Create. This creates a Teams group chat and a private Slack channel. The Bridge quickstart explains this separate cross-company chat flow; cross-platform chats use your own organization’s workspaces.
Operate the bridge
The Active connections tab shows connected channel pairs and pending work. After adding a pair, verify the welcome message and exchange a message and reply before inviting broader participation.
Use message settings and attachment policies under Admin console > Connect > Sync settings > Bridge to control what crosses the connection. The security policy and platform permission reference explain the underlying access and processing.
People continue to work in their own channel. If a shared conversation also needs fields, ownership, and a conclusion, add a Connected App. For a small number of individually approved channel connections, External connections provide the simpler invitation model.