
Tutorial
Build an app without code
On this page
In this tutorial, you build an app for facilities requests, such as repairs, building access and office supplies. You only use the app editor in the Dashboard. The tutorial is for people who have never set up a Conclude app. Each step ends with what you should see.
1. Before you start
You need:
- A Conclude account, and you are signed in to the Dashboard. If you don’t have an account, see Set up Conclude
- Apps – ticketing and issue tracking turned on under Admin console > Solutions . See how to turn on solutions
- The Manage apps permission. Admins have it. An admin can give it to other people under Admin console > Users and access > Roles & permissions . See Roles and permissions
- A new Slack or Microsoft Teams channel to test in, for example
#facilities-test. The app posts messages there
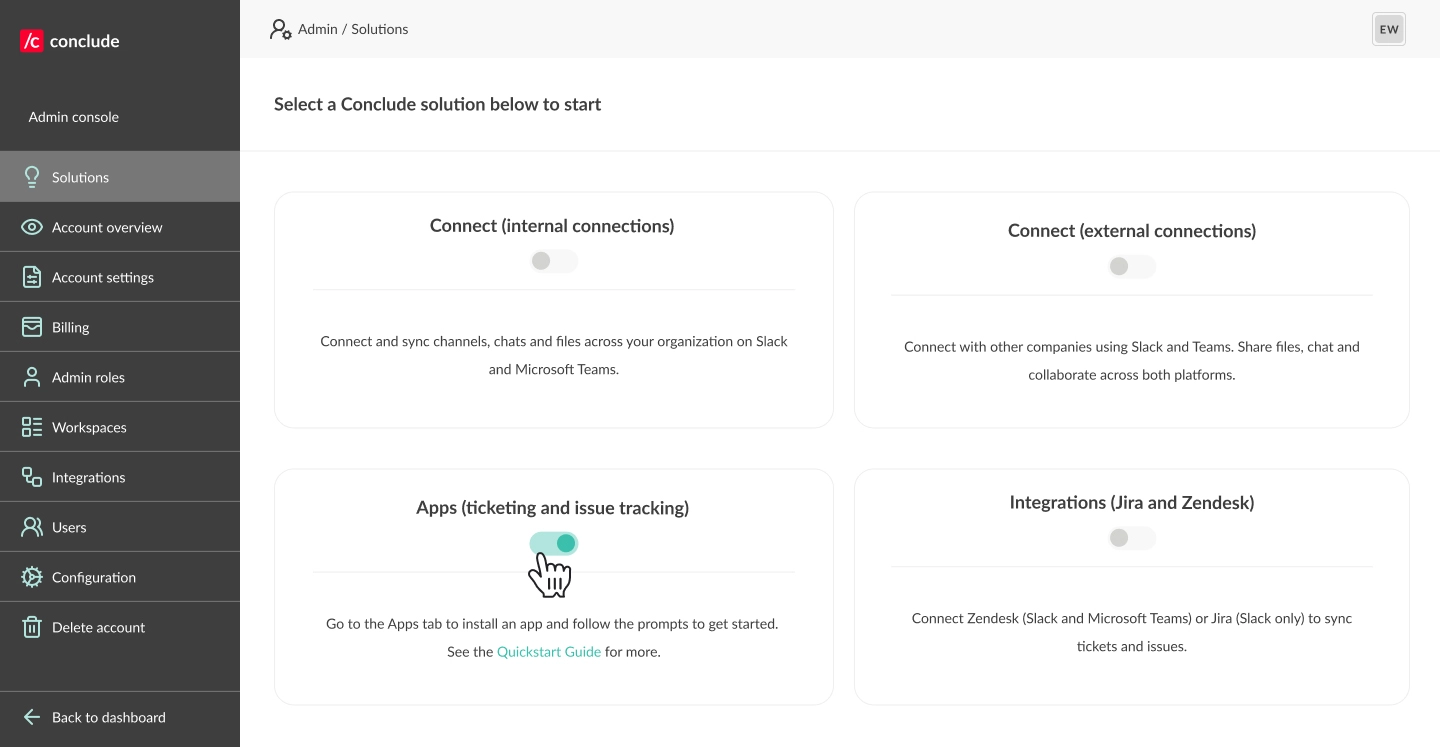
What you should see: Apps in the Dashboard sidebar.
2. Install from a template
- Open Apps and select Install app.
- Choose Generic (customizable). Its description says “Modify this simple template to suit your workflow”. Select Next.
- Choose your workspace, team and test channel. Then select Install.
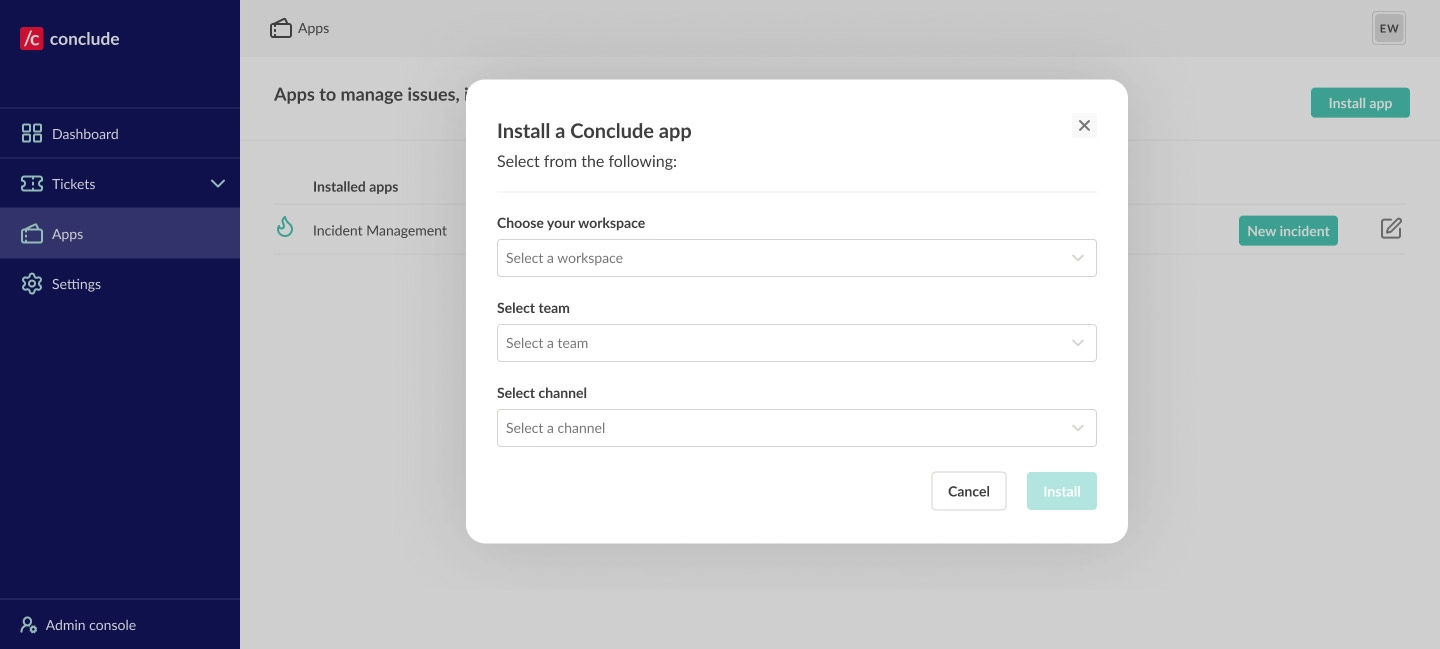
The template comes with three fields: Subject, Details and Conclusion. Subject is required. The template calls each ticket an “activity”.
Installing the app also sets some defaults. You become the default assignee. The test channel becomes the member list, and alerts go to the test channel. You look at these again in step 5.
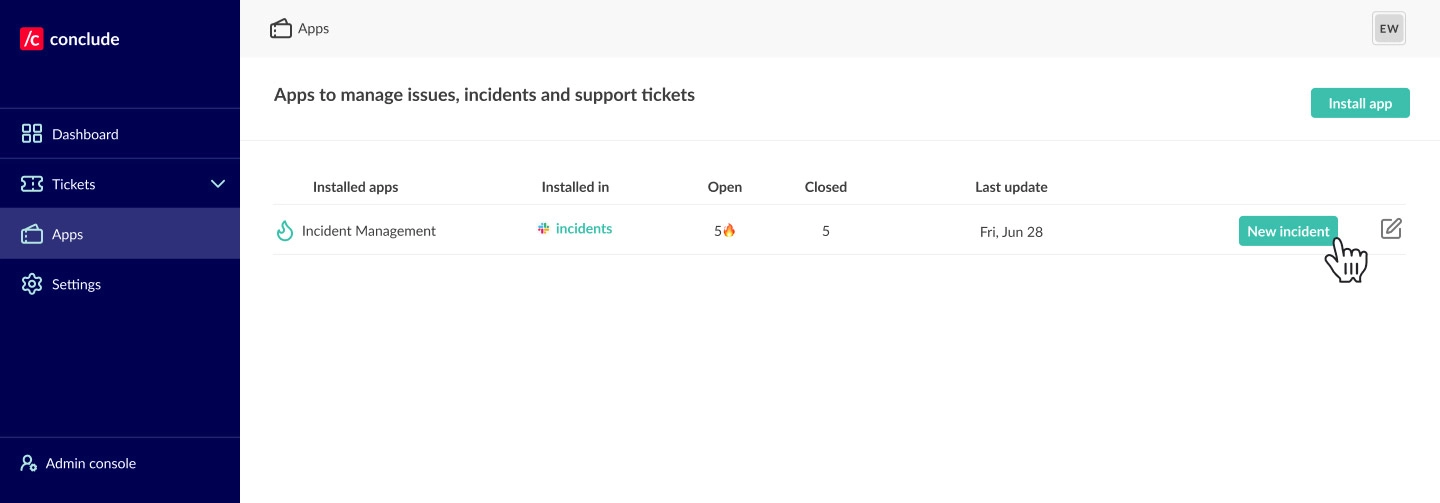
What you should see: the new app in the Apps list. The row shows the app’s channel, a launch button and a pencil icon. The pencil icon opens the app editor.
3. General tab
Select the pencil icon to open the app editor. The editor has seven tabs: General, Agents, Roles, Attributes, Texts, Integrations and Expert.
Start on General and fill in these fields:
| Field | Value | What it does |
|---|---|---|
| App label | Facilities request | The name people see in the sidebar and in lists. |
| Name of app | facilities | The name you use with the /c command in Slack. Use lowercase letters, numbers and underscores. |
| Name your ticket | request | The word used on buttons and in messages. The launch button becomes New request. |
| App mode | Keep Thread | Each ticket gets its own thread. If you choose Channel, each ticket gets its own channel, and a Channel name convention field appears. |
Select Save, or press Ctrl+S (Cmd+S on a Mac). While you have unsaved changes, the Cancel button says Discard changes.
What you should see: the app is listed as Facilities request, with a New request button.
4. Attributes tab
The Attributes tab lists the fields on a request. Drag a row to move it. Select a row to edit it.
Add a category:
- Select Add attribute.
- Set Label to
Category, Name tocategoryand Type toselect. A list of options appears. - Select Add option. Enter
repairas the Name andRepairas the Label. Select Apply. - Add three more options the same way:
accesswith the labelAccess,supplieswith the labelSupplies, andotherwith the labelOther. - Select Apply to save the attribute.
Add a location: select Add attribute. Set Label to Location, Name to location and Type to string. Select Apply. A string field holds one line of text. A text field holds several lines.
Rename the conclusion: select the Conclusion row. Change Label to What was done and select Apply. You can’t change the Name field, and there is no Delete button. That is because title and conclusion are reserved names. The conclusion field must also stay a text field.
Don’t change the Severity section below the list. Select Save.
What you should see: five rows: Subject, Details, Category, Location and What was done.
5. Roles tab
The Roles tab controls who takes part in each request. Make these changes:
- Default assignee for requests: clear this field. Installing the app put you here. With no default assignee, a new request starts as Unassigned. Whoever picks it up first assigns it to themselves
- Invite people and channel members: keep the test channel. Everyone in the channel becomes a member of each request, including the person who made it. You can’t add only the person who made the request from the editor. That takes YAML. See Combining tokens
- Where should alerts about new or closed requests be sent? Keep the test channel
- Who has access: keep Members of the test channel. If you choose Everyone on the team instead, anyone on the team can open a request
Select Save.
What you should see: no default assignee, the test channel in the member and alert fields, and access for channel members only.
6. Create and conclude a request
Create a request in the Dashboard. Open Apps and select New request. Fill in the form, for example:
- Subject: Replace the meeting-room light
- Details: The ceiling light flickers during meetings
- Category: Repair
- Location: Building A, floor 2, room 204
Select Submit.
Create a request in Slack. React to any message in the test channel with the 🎫 (ticket) emoji. Conclude creates a request from that message, without a form. This works because the Generic template keeps the default reaction, and it only works in thread mode. To open the form instead, type /c new in the channel.
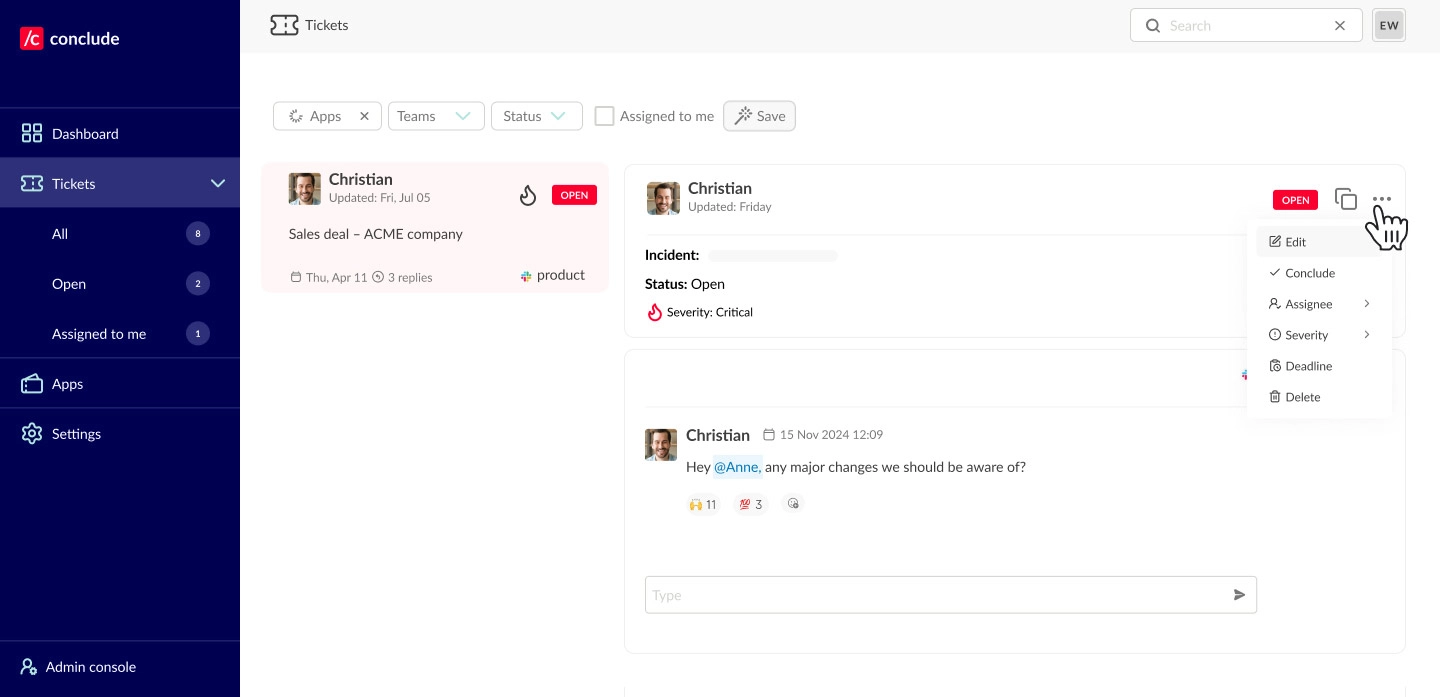
Handle the request. Open Tickets in the Dashboard. Each open ticket has a three-dot menu with Edit, Conclude, Assignee, Deadline and Delete. The menu also shows Severity in apps that have a severity attribute.
- Select Edit and change the category.
- Select Assignee and choose yourself.
- Select Conclude. Fill in What was done, for example
Replaced the light, and select Done.
What you should see:
- An alert in the test channel when the request opened, and another when it closed. Each alert shows the details you entered
- A green Closed label on the request
- The request is still listed under Tickets, with what was done. To open it again, select Re-open in the same menu
7. What you built
Open the Expert tab. It shows the YAML that the editor wrote for you:
name: facilities                 # step 3, Name of app
label: Facilities request        # step 3, App label
icon: generic
description: A generic app template

settings:
  subject: request               # step 3, Name your ticket
  alert: "#facilities-test"      # step 5, kept from install

roles:
  members: "#facilities-test"    # step 5, kept from install

attributes:
  - name: title                  # from the template
    type: string
    label: Subject
    placeholder: Enter subject here
    mandatory: true
  - name: body
    type: text
    label: Details
    placeholder: Enter details here
  - name: category               # step 4
    type: select
    label: Category
    options:
      - name: repair
        label: Repair
      - name: access
        label: Access
      - name: supplies
        label: Supplies
      - name: other
        label: Other
  - name: location               # step 4
    type: string
    label: Location
  - name: conclusion             # step 4, relabeled
    type: text
    label: What was done
    placeholder: What is the conclusion?
Your YAML may look a little different. The editor stores channels with an internal key, not only the channel name shown here. It may also put the lines in a different order.
Some of your choices don’t appear in the YAML, because they are defaults: thread mode, access for channel members and no default assignee.
You can edit the YAML on this tab, but you don’t need to for this tutorial.
Where next
- The app editor explains every tab. On Texts you change the wording of buttons and messages. On Integrations you let people create requests by email or web form
- Templates shows how to save your app as a template in the Admin console, so you can install it in other channels
- Automation shows how to add triggers that run when a ticket is created, commented on, edited or concluded. For example, you can route requests by category