
How to
Agents
On this page
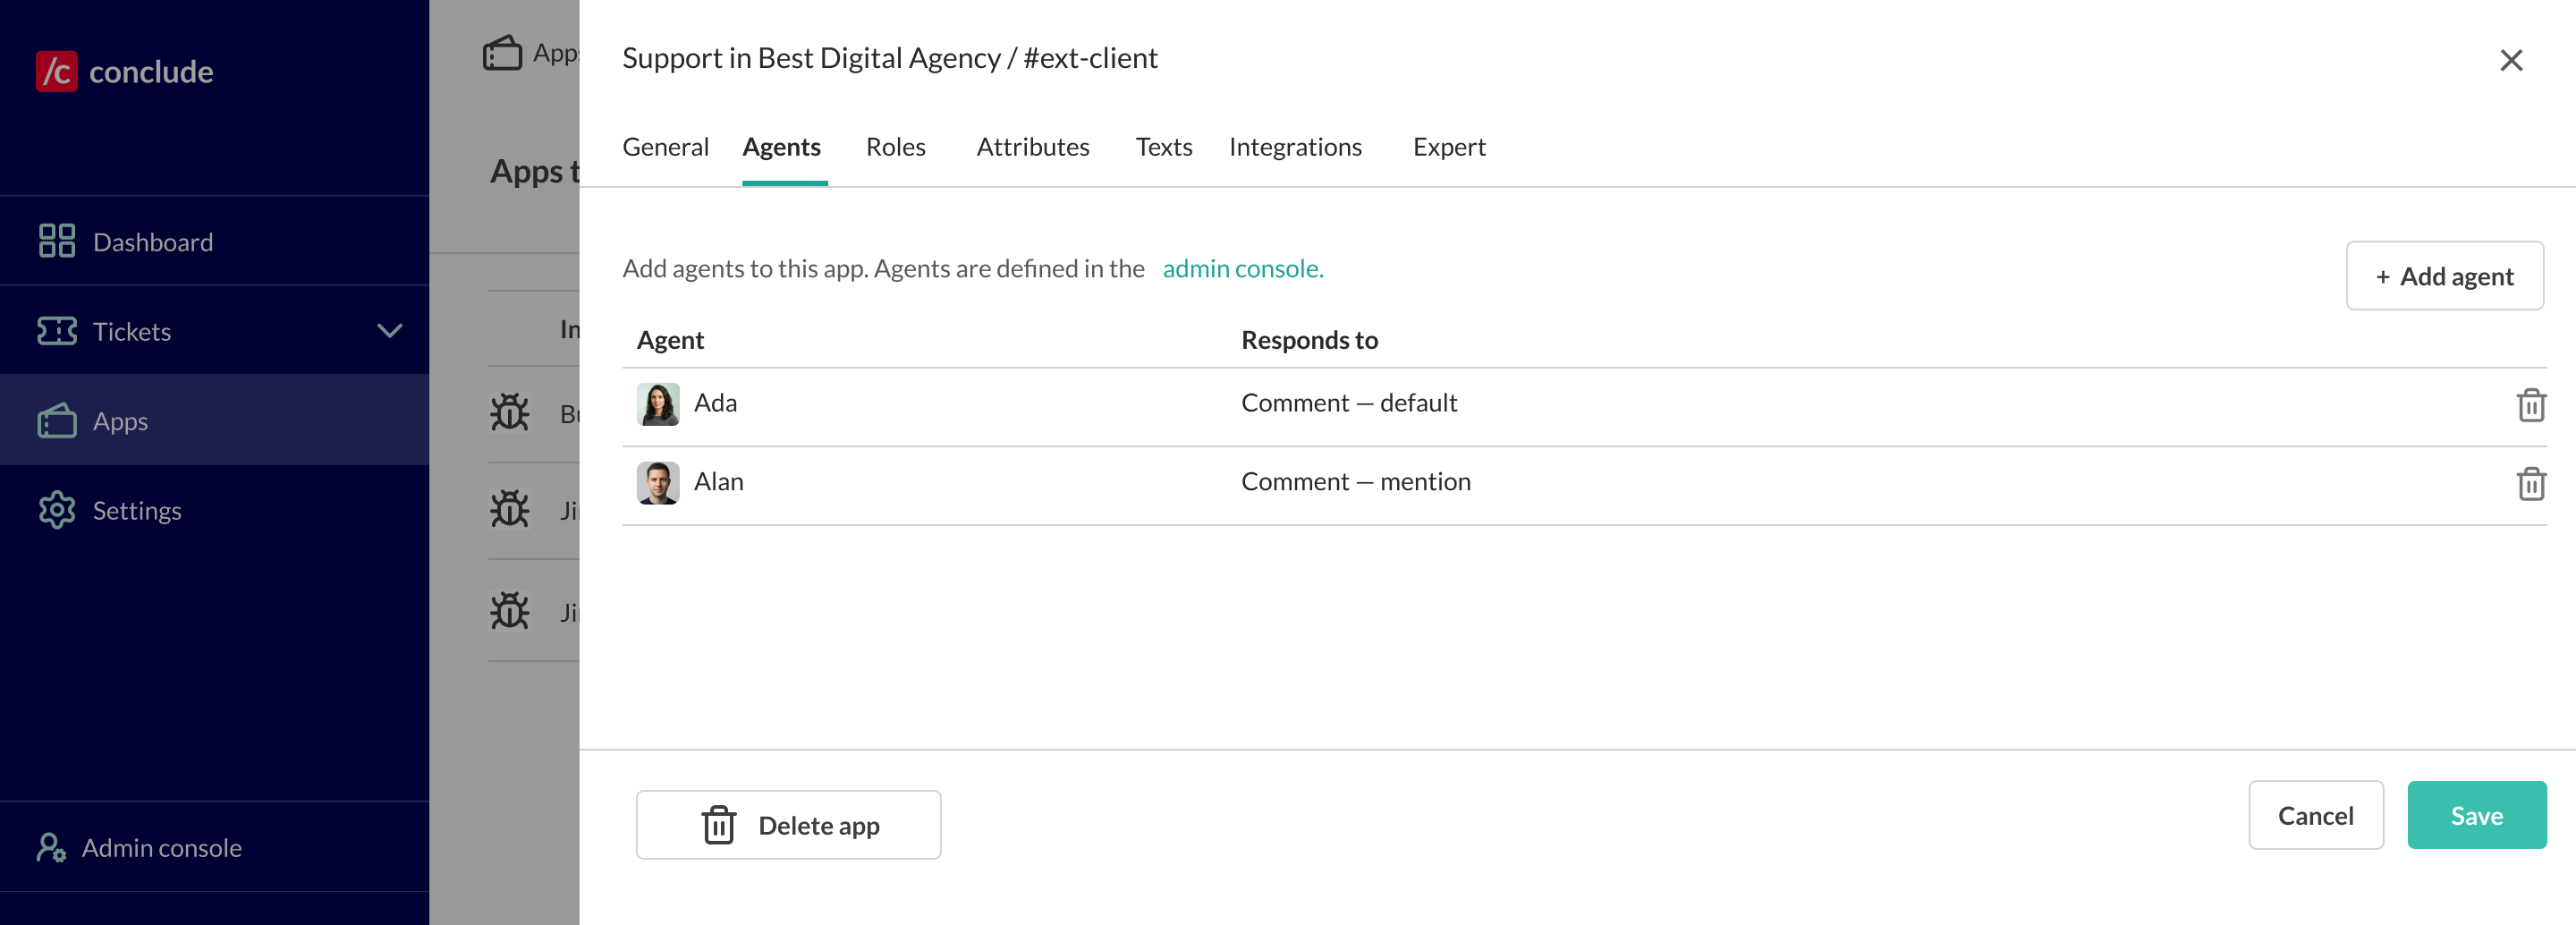
Use this tab when an agent should take part in an app’s tickets. You create agents in the Admin console. See Agents. An app only names the agents it wants.
Add an agent
- Open the app in the editor and select the Agents tab. It lists the agents deployed to the app’s channel, with their Mode and Triggers. Until you add one, the tab reads “No agents are deployed for this app yet.”
- Select Add agent and pick an agent under Agent. The list holds the organization’s agents that are not in the channel yet. The button is disabled when no agents are left.
- Choose a Mode, tick at least one trigger under Triggers, and select Add. The agent joins the app’s channel at once.
- Save the app to keep its triggers.
Only an organization admin can add or remove an agent, or change its mode.
To change an agent later, use the Mode and Triggers menus in its row. A changed row is marked Edited until you save the app. To take agents out, select the × in their rows. Then select the Remove button under the table, which counts the agents you marked. They leave the app’s channel at once.
Triggers
The tab offers four triggers. They are Comment (onComment), New ticket (onCreate), Edit (onEdit) and Conclude (onConclude). A newly added agent starts with Comment ticked. An agent that the app already names keeps its triggers.
Mode
The mode is the agent’s mode in the app’s channel. It covers the channel’s conversation and the app’s tickets alike.
- Default follows the agent’s own mode, which is set on its General tab in the Admin console
- Mention answers a comment that @mentions the agent
- Conversational also answers a comment that names the agent
- Autonomous reads every comment and joins in unprompted
- Off answers nothing in the channel or on the app’s tickets
The mode only affects comments. On a new ticket, an edit or a conclusion, the agent answers the triggers it has unless it is off. See Modes.
What the agent sees
Conclude builds each response from:
- the app’s context, or its description when no context is set
- the agent’s instructions
- the ticket’s current state and history
- the lookup result, when the app has a lookup endpoint for the event
- the event that fired the trigger
- the agent’s knowledge collections
See What the agent sees.
From the agent side
You can also add an agent from the agent’s own side.
- Open the agent in the Admin console.
- Go to its Deployment tab.
- Select Add to app and pick the app.
That path deploys the agent to the app’s channel and ticks Comment. Change its triggers in its row on the Deployment tab, or on this tab. Changes on the Deployment tab save at once.
Either way, the app’s triggers gain agent: entries. You can see them on the Expert tab. They are documented under Wiring agents to triggers.
Related pages
- Automation for triggers that set attributes, post messages or run scripts
- Triggers for the full trigger syntax