
How to
Settings
On this page
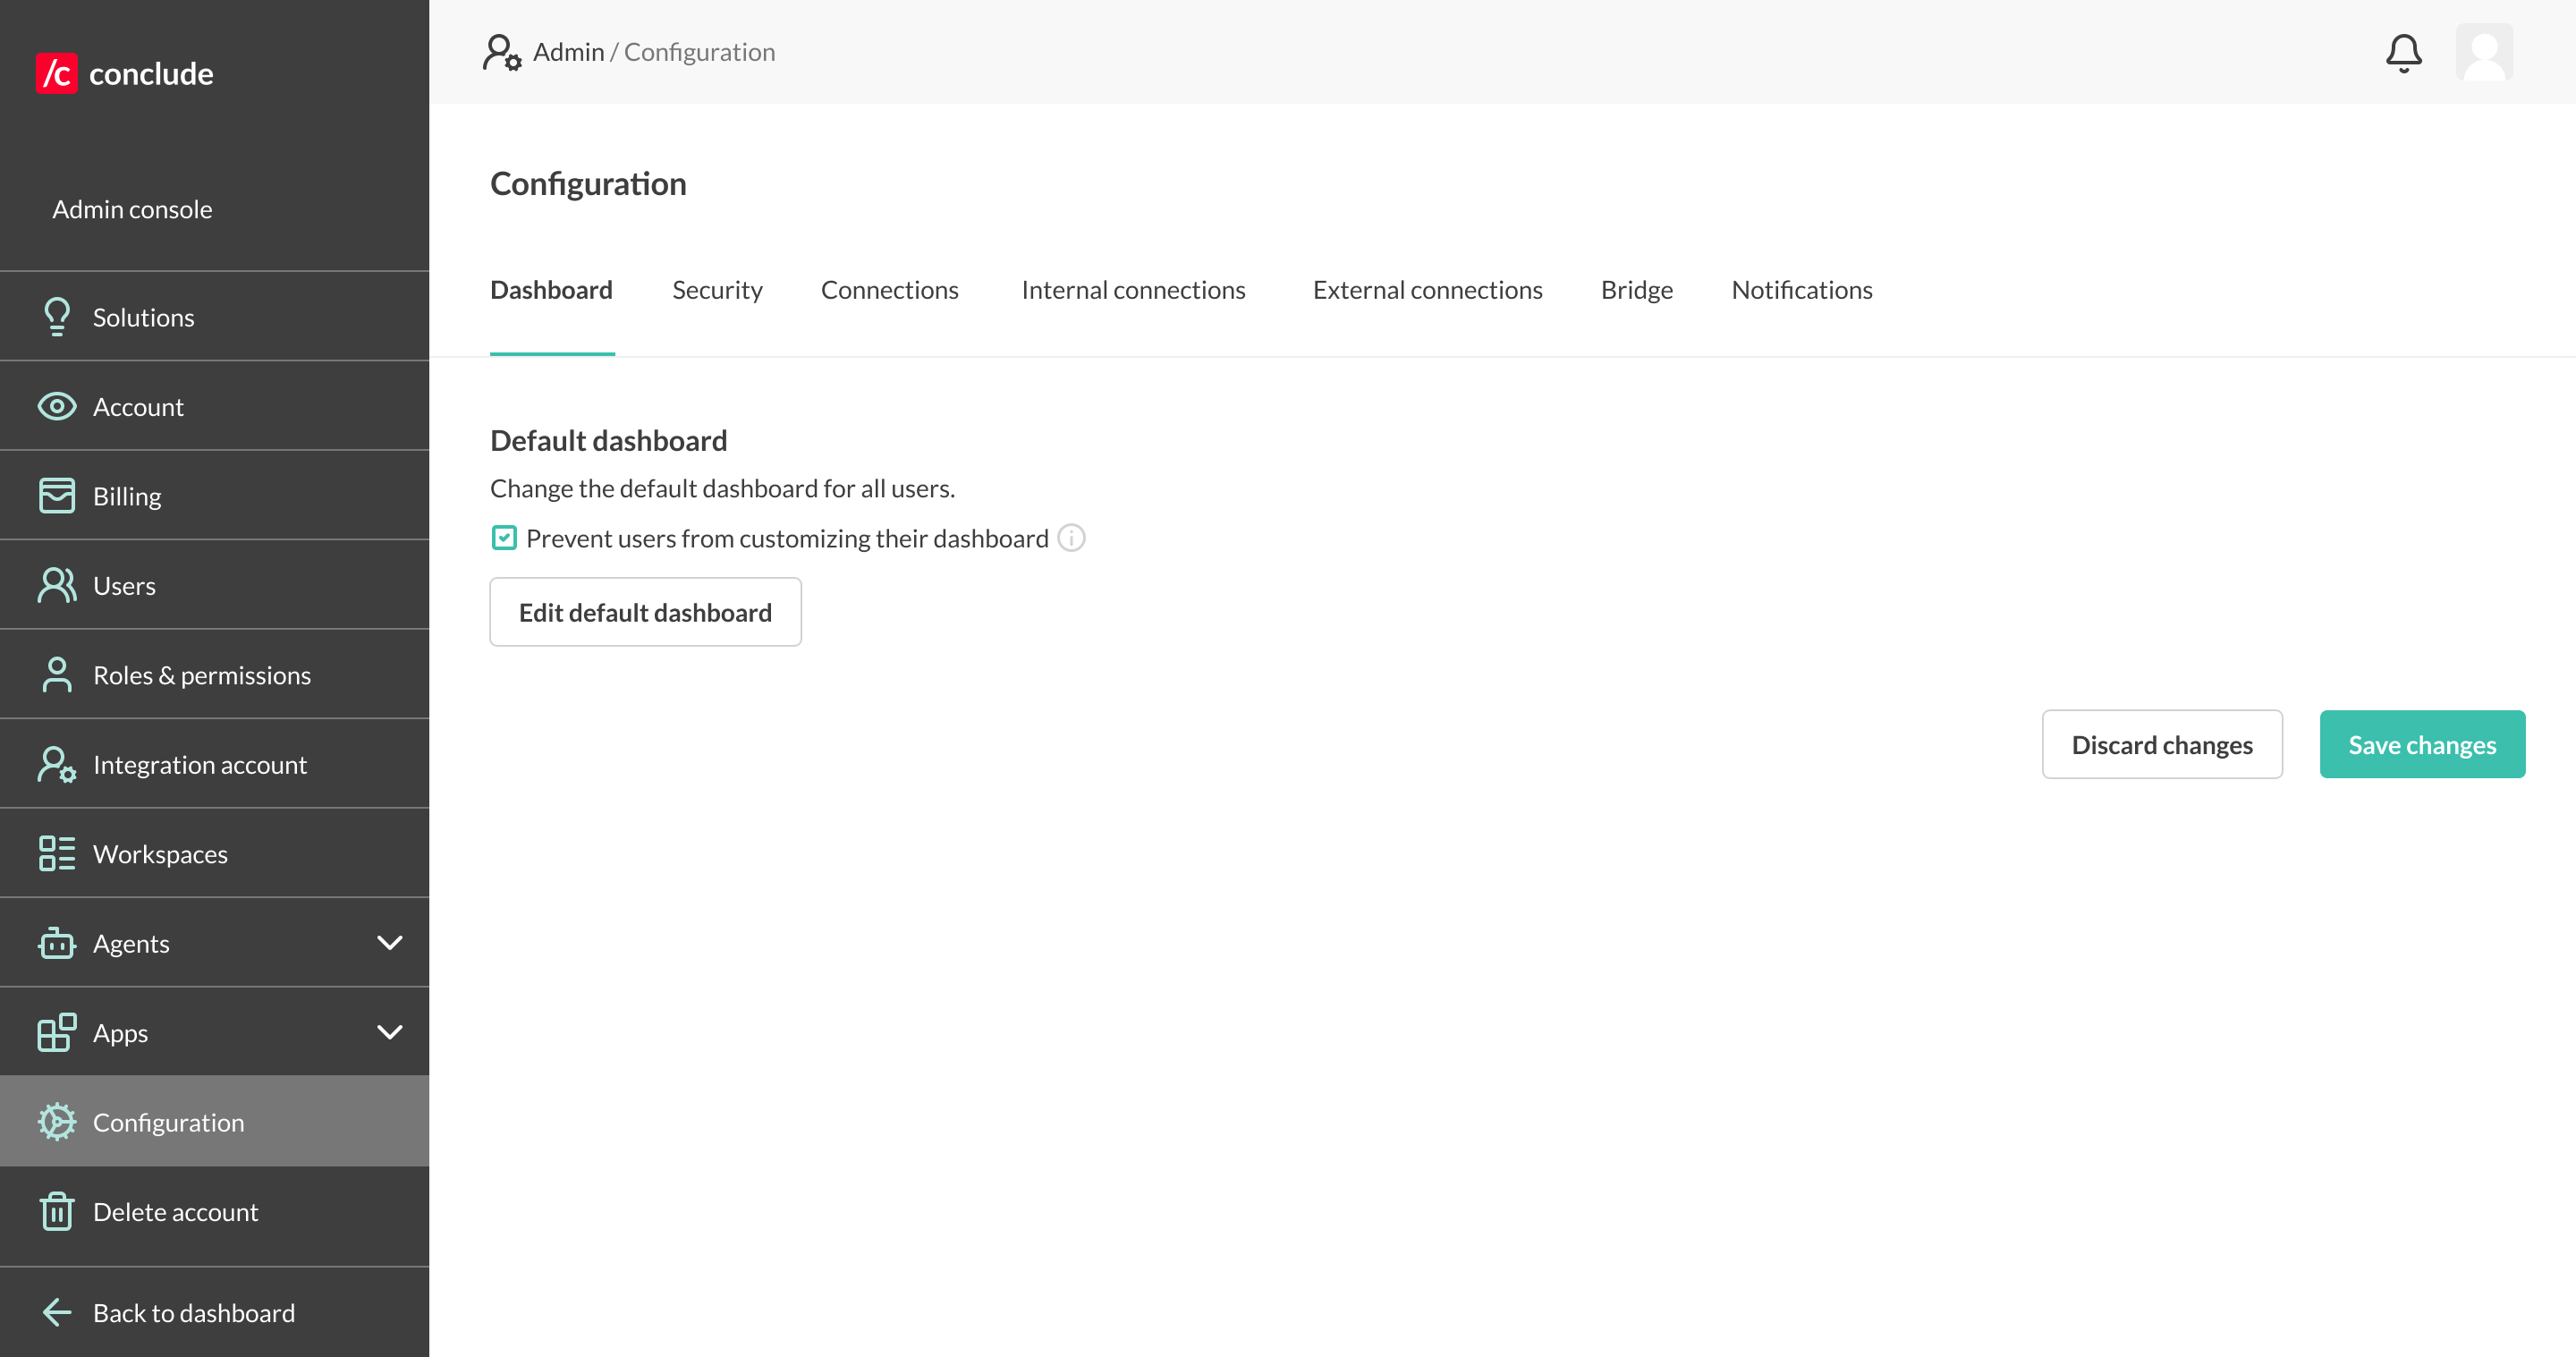
Admin console > Organization > Settings holds organization-wide settings on two tabs. Dashboard sets what users see when they open Conclude, and whether they can change it. Notifications decides where system alerts go.
Dashboard
The Dashboard gives an overview of connections, chats, apps, tickets and available metrics. When you set a default Dashboard, you choose which of these cards users see first.
Configure the default Dashboard
- Go to Admin console > Organization > Settings > Dashboard .
- Click Edit default dashboard.
- Add, remove and arrange the cards you want users to see.
- Click Save.
To add a card, click the + button in the bottom-right corner. To remove a card, click the X in the top-right corner of the card.
While editing, click Revert to original dashboard and confirm with Revert. This removes the default Dashboard. Users who have not arranged their own Dashboard then get Conclude’s original layout. Users who have arranged their own keep it.
Prevent users from customizing their Dashboard
By default, users can customize their own Dashboard.
To require users to use the organization’s default Dashboard:
- Go to Admin console > Organization > Settings > Dashboard .
- Select Prevent users from customizing their dashboard.
- Click Save.
While this setting is on, users cannot customize their own Dashboard. Account admins can still edit the default Dashboard. If no default Dashboard has been saved, users get Conclude’s original layout and still cannot change it.
Allow users to customize their Dashboard
To let users customize their Dashboard again:
- Go to Admin console > Organization > Settings > Dashboard .
- Clear Prevent users from customizing their dashboard.
- Click Save.
Users can then arrange the Dashboard to show the information and metrics they care about most.
Notifications
Conclude raises system alerts, as errors, warnings and info, when something needs an admin. The Notifications tab decides where they go:
- System alert forwarding posts the alerts to a channel. Enter the ID of a Slack or Microsoft Teams channel
- Email notifications sends them to the account admins by email. Choose Disabled, All alerts (info, warning, error), Warnings and errors or Errors only
Click Save to apply either setting.
Related pages
- Roles & permissions — who counts as an account admin
- Apps Web UI quickstart — what users see on the Dashboard and how they customize it